
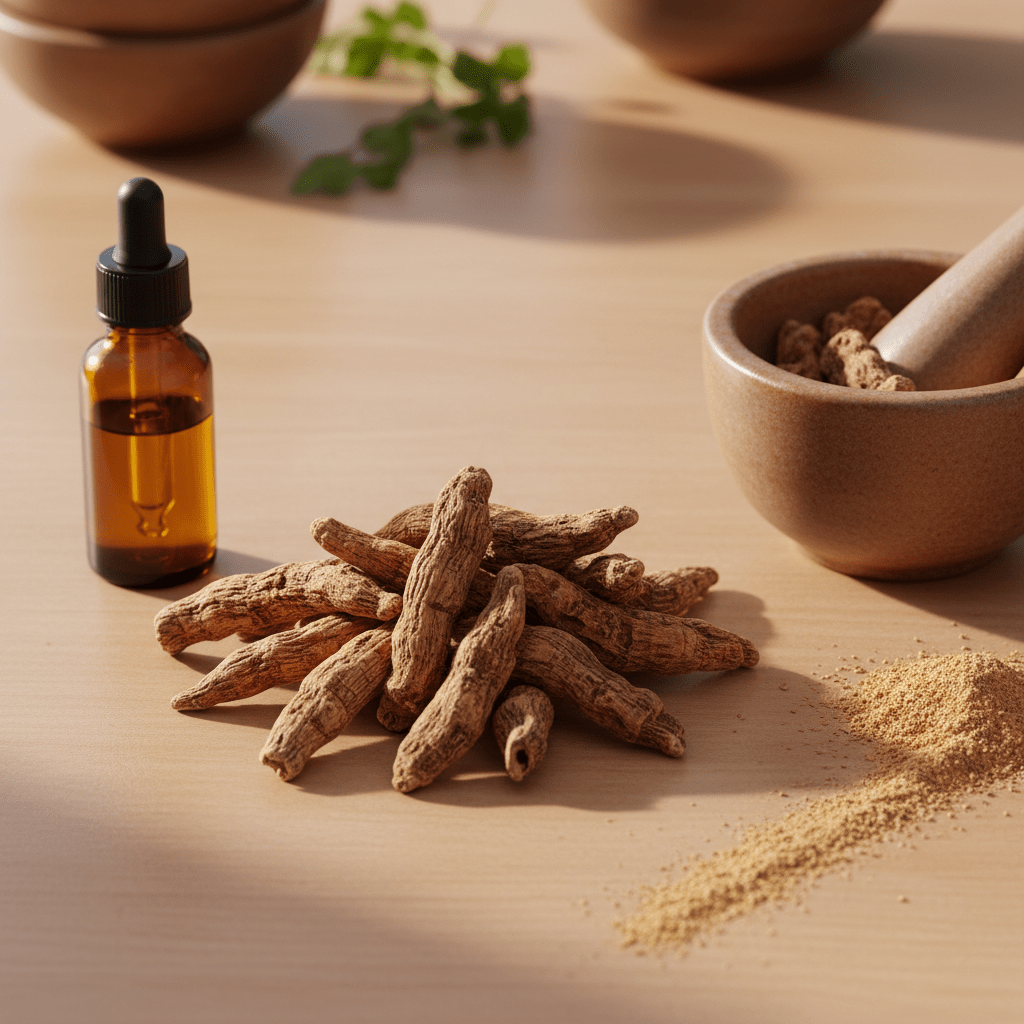
Unlock the Power of Ayurveda: Why You Should Make Your Own Ashwagandha Oil
Ever notice how one herb keeps popping up everywhere? In tea, in gummies, in face oils, even in hair care. Ashwagandha is having a real moment, and the market shows it. A recent market report says the global ashwagandha market is worth about $0.76 to $0.84 billion in 2025 and could pass $1 billion by 2030 market report on ashwagandha growth.
That’s not just hype. People want calmer days, better sleep, and more natural self-care. Plus, a 2024 review of 9 clinical trials found ashwagandha helped lower stress, anxiety, and cortisol levels compared with placebo. Pretty wild, right?
So why make your own ashwagandha oil at home? Simple. You get to save money, skip mystery additives, and choose the quality of every ingredient yourself. No weird filler. No guessing games.
And honestly, that control matters.
In this guide, I’ll walk you through how to make ashwagandha oil, what ingredients to buy, two easy infusion methods, how to store it, and the best ways to use your homemade ashwagandha oil for hair and skin. We’ll keep it simple and useful, just the way DIY should feel.
Understanding Ashwagandha: More Than Just a Wellness Trend
You’ve probably seen ashwagandha on a shelf, a label, or in a “calm” blend at the health store. But this root has been around way longer than the current buzz. Ashwagandha, or Withania somnifera, is a classic herb in Ayurveda, and people have used it for a long time as an adaptogen. That just means it’s known for helping the body deal with stress.
What gives it that reputation? Mostly a group of plant compounds called withanolides. These are the bits people talk about most in research and herbal circles. And yes, the interest is real. A 2024 meta-analysis of 9 clinical trials found that ashwagandha helped lower stress, anxiety, and cortisol more than placebo study on cortisol and stress relief. That lines up with why so many folks are now looking for ashwagandha oil, not just capsules.
For skin and scalp use, people often talk about its anti-inflammatory side. That can matter if your skin gets red, tired, or fussy. Withanolides are also fat-soluble, which is a big reason oil infusion works so well. When you blend ashwagandha with a carrier oil, the oil can help carry those compounds onto the skin and scalp more smoothly.
So why does this matter for a homemade ashwagandha oil? Simple. You’re not just soaking herbs in oil for fun. You’re making an ashwagandha infused oil that fits into hair care, massage, and everyday skin routines.
Here’s the short version:
| Part | Why it matters |
|---|---|
| Ashwagandha root | Main herb used for oil making |
| Withanolides | Key plant compounds linked to stress and skin support |
| Carrier oil | Helps move fat-soluble compounds onto skin |
| Oil infusion | Makes the herb easier to use topically |
If you’re after ashwagandha for hair and skin, this is a nice place to start. And if you’re a maker or brand owner, it also helps to know that purity matters a lot with herbal oils. People want clean, honest ingredients, not mystery blends with a fancy label.
Choosing Your Ingredients: The Foundation for a Potent Oil
You know that moment when a DIY project goes sideways because of one tiny choice? Yeah, ingredients can do that. Pick the right ashwangdha root and carrier oil, and your homemade ashwagandha oil feels rich, smooth, and useful. Pick the wrong ones, and you get a jar that smells off, strains badly, or just feels meh.
First, let’s talk about the herb itself. For most people, dried cut root is the easiest way to make ashwagandha oil at home. It strains cleanly, it’s less messy, and it usually gives you a more traditional herbal infusion. Powder has more surface area, so it can pull into the oil faster. But it’s a pain to filter. Tiny bits love to sneak through cheesecloth. Annoying, right?
Here’s a quick look:
| Ashwagandha form | Best for | Pros | Cons |
|---|---|---|---|
| Dried cut root | Traditional DIY ashwagandha oil | Easier to strain, cleaner jar | Takes longer to infuse |
| Powder | Faster infusion | More surface area, stronger pull | Cloudy oil, more sediment |
If you want the simplest ashwagandha oil recipe, start with cut root. If you want a faster ashwagandha infused oil and don’t mind straining twice, powder can work too. I’d say root wins for most beginners.
Now for the carrier oils for ashwagandha. This part matters a lot. The oil you choose changes the feel, smell, and final use of your DIY ashwagandha oil.
- Sesame oil: Warm, rich, and classic in Ayurveda. It’s a strong pick for body massage and scalp oiling. It feels grounding and pairs well with traditional ashwagandha root oil use.
- Coconut oil: Light, cooling, and great for hair. If your scalp gets hot or dry, this one is a fan favorite for ashwagandha for hair and skin blends.
- Olive oil: Thick and nourishing. It works well for dry skin and body use, though the scent is stronger.
- Jojoba oil: Really nice for the face because it feels close to skin oils and usually absorbs well.
For most homemade batches, sesame oil or olive oil are the easiest carrier oils for ashwagandha. Coconut oil is great if hair care is your main goal. Jojoba is the one I’d reach for in a facial blend.
If you’re buying ingredients, look for USDA Organic, Non-GMO Project Verified, and cold-pressed on the label. Those little words matter. A lot. Reputable online herbal stores like Mountain Rose Herbs, Starwest Botanicals, and Organic India are solid places to start.
And yes, quality matters more now than ever. The global ashwagandha market is already valued at about $0.76 to $0.84 billion in 2025, and that kind of demand can bring in low-quality stuff too. So shop with your eyes open.
For a small batch at home, simple and clean usually wins. Good root. Good oil. Good jar. That’s the whole vibe.
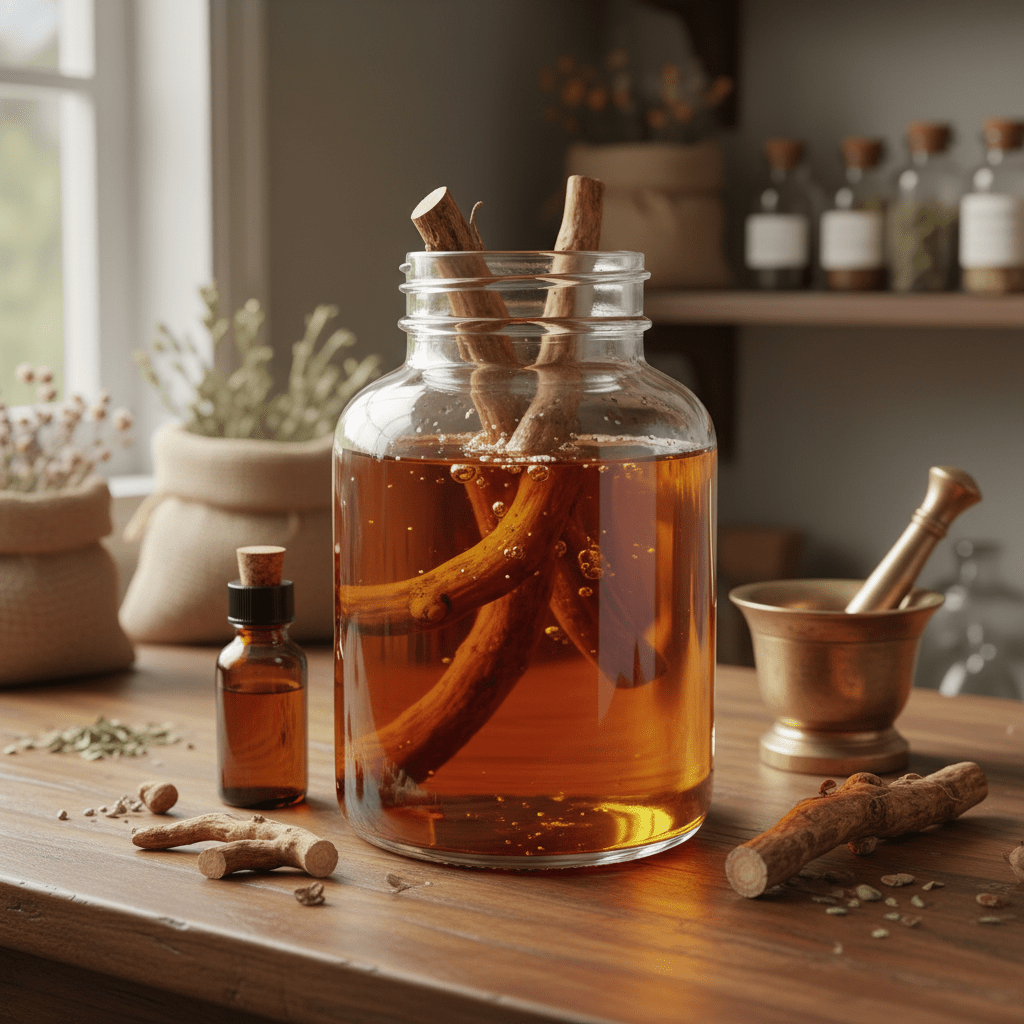
Recipe 1: The Traditional Slow Infusion Method (Cold Process)
You know that calm feeling when you open a jar of herbs and it just smells right? That’s the whole mood here. Slow infusion is the old-school way to make ashwagandha oil, and it’s a lovely fit if you want a gentle homemade ashwagandha oil with a fuller herbal feel.
This method is simple. No heat. No rush. Just time.
And yes, time matters. Cold infusion helps keep the plant’s delicate bits in better shape, which is why many people use it for an ashwagandha infused oil for skin and scalp care. Since this is a dry-herb oil, use only fully dried root. Fresh root can add water, and water plus oil is a messy combo nobody wants.
What you’ll need
- 1 part dried ashwagandha root
- 5 parts carrier oil for ashwagandha
- A clean, dry glass jar with a tight lid
- Cheesecloth or a fine strainer
- A dark bottle for storage
Sesame oil is a classic here, especially if you want a more traditional ashwagandha root oil. Olive oil and jojoba oil also work well. If your goal is ashwagandha for hair and skin, sesame oil is a great place to start.
Step-by-step cold infusion
- Fill the jar about one-third full with dried ashwagandha root.
- Pour in the oil until the herbs are fully covered. Use a 1:5 ratio by volume, so 1 cup herb gets about 5 cups oil.
- Stir with a clean spoon or a dry chopstick to release trapped air bubbles.
- Seal the jar tightly.
- Store it in a cool, dark spot for 4 to 6 weeks. A pantry shelf works better than a sunny windowsill.
- Shake it once a day. Just a gentle swirl is fine.
Funny enough, this is where most people get impatient. But the slow part is the point. The oil is usually ready when it turns a warm golden-brown color, smells earthy and strong, and looks rich instead of thin. If it still smells like plain oil after a few weeks, give it more time.
When it’s done, strain it through cheesecloth. Squeeze the cloth hard to get the last drops. Then pour your DIY ashwagandha oil into a clean bottle and label it with the date.
Want a simple next step? Try a small batch first. If you like the smell and feel, you can make a bigger jar next time.## Recipe 2: The Quick Heat Infusion Method (Warm Process)
You know that moment when you want a homemade remedy now, not next month? Yep, this is that method. Warm infusion is the faster way to make ashwagandha oil, and it’s a nice fit if you want your ashwagandha infused oil ready in a day instead of a few weeks.
But here’s the big rule: don’t fry the herbs. Seriously. Keep the heat low and steady so the root can do its thing without turning bitter or burnt.
What you’ll need
- 1 part dried ashwagandha root
- 5 parts carrier oil for ashwagandha
- A double boiler, or a slow cooker on low
- A thermometer, if you have one
- Cheesecloth or a fine strainer
- A clean glass bottle for storage
Sesame oil works really well here if you want a traditional ashwagandha root oil. Coconut oil is great for hair care, and olive oil gives you a thicker, richer feel.
Step-by-step warm infusion
- Add the dried root and oil to the top part of a double boiler, or place them in a heat-safe jar inside a pot of water.
- Keep the heat low. Aim to stay below 120°F (49°C) for 4 to 8 hours.
- Check the oil every so often and give it a gentle stir.
- If using a slow cooker, keep it on the lowest setting and watch the temperature closely.
- Don’t let it bubble. Tiny movement is fine. Rolling heat is not.
- Turn off the heat when the oil smells warm, earthy, and a little stronger than before.
- Strain it well through cheesecloth, then bottle and label it.
A makeshift double boiler can work fine too. I’ve seen people set a Mason jar in a pot of gently simmering water, or rest a heatproof bowl over a saucepan with a couple inches of hot water below. Low-tech. Simple. Good enough.
The upside? You get your DIY ashwagandha oil faster, and it can still work well for ashwagandha for hair and skin. The downside? You have to watch it more closely. Too much heat can dull the smell, darken the oil, and make the herbs taste burnt, which is not the vibe.
If you’re in a hurry, this is probably the easiest ashwagandha oil recipe to try first. If you’re patient, the slow method gives a softer, more rounded result. Both can work. It just depends on your schedule.
And if you’re buying ingredients for bigger batches, Aroma Monk’s lab-tested carrier oils and natural oils can be a smart fit for brands that want clean, traceable raw materials without the guesswork.
Get a quote from Aroma Monk.
Essential Oil Supplier – Bulk pricing • Samples • Fast response
Finishing Touches: How to Strain, Bottle, and Store Your Liquid Gold
You’re so close now. And this part matters more than people think. A jar can look beautiful and still be gritty, cloudy, or spoiled if you rush the last steps. That would be a bummer after all that waiting.
Start with straining. Pour the finished oil through two to three layers of cheesecloth or a fine-mesh nut milk bag over a clean bowl. If you want a cleaner finish, strain it twice. First to catch the big bits. Then again to catch the tiny stuff that loves to sneak through. You can also twist the cloth tight and squeeze with your hands, or press the bundle against the side of the bowl with the back of a spoon to pull out more oil.
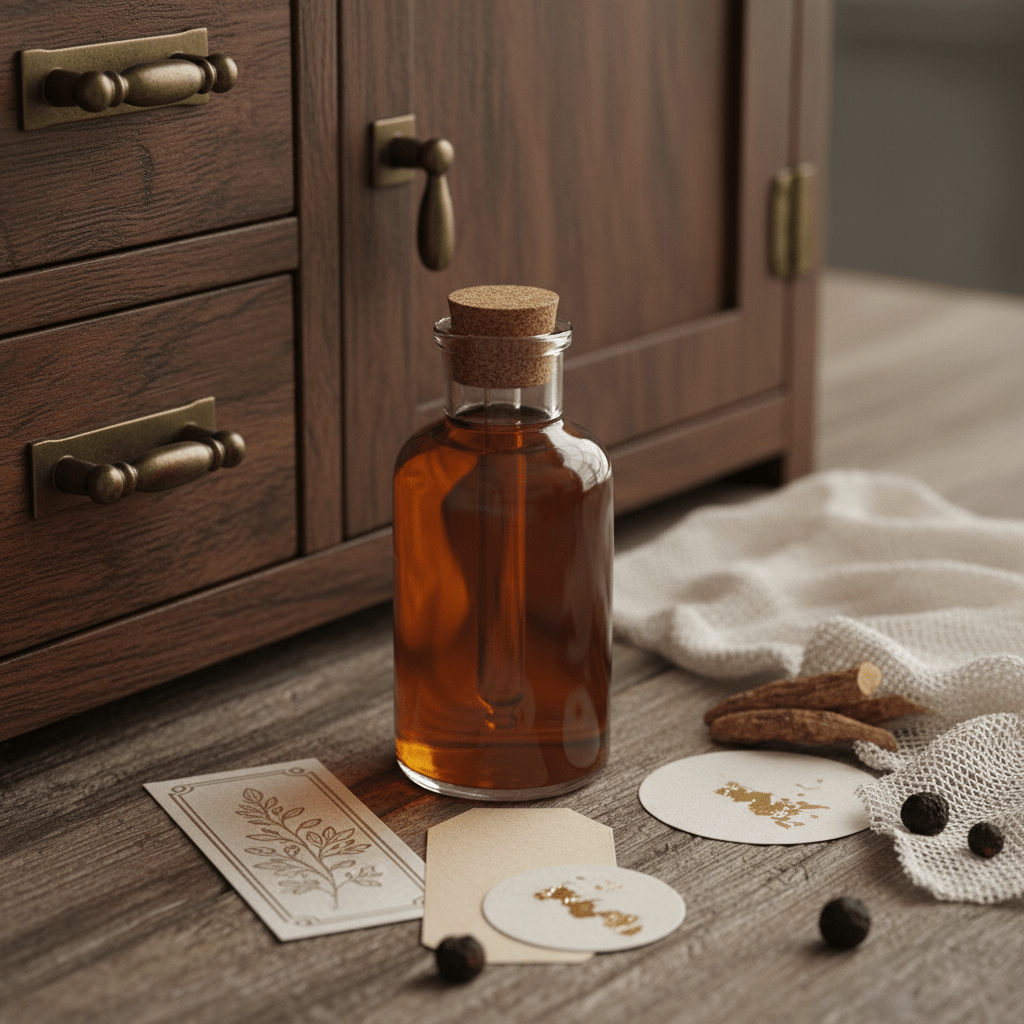
Once it’s clear, move it into a dark glass bottle. Amber or cobalt blue works best because light can wear oil down faster. Clear jars look pretty on a shelf, sure. But pretty doesn’t keep your homemade ashwagandha oil fresh.
Before you cap it, label the bottle with:
- Ingredients used
- Date made
- Carrier oil used
- Any added herbs
That tiny sticker saves a lot of guessing later.
Shelf life and spoilage signs
Most DIY ashwagandha oil blends keep for about 1 to 2 years, depending on the carrier oil. Jojoba usually lasts longer. Sesame and olive oil are a bit shorter. If you want a little extra cushion, some makers add vitamin E oil, but fresh storage habits matter just as much.
Keep the bottle in a cool, dark cabinet. Not by the stove. Not in a sunny windowsill. And if the oil starts to smell sharp, sour, or just “off,” it’s time to toss it. Cloudiness, strange stickiness, or a stale smell are all red flags too.
So there you go. Strain it well. Bottle it dark. Label it clearly. Simple stuff, but it makes your ashwagandha infused oil feel polished and ready for real use.
If you’re making this for ashwagandha for hair and skin, you’ve now got a clean base for scalp massage, body oiling, or a small batch gift that actually feels thoughtful. And if you’re a brand owner sourcing bulk carrier oils, Aroma Monk’s lab-tested oils and natural ingredients can help you keep that same clean, traceable quality at scale.

How to Use Your Homemade Ashwagandha Oil for Mind & Body
You made the oil. Nice work. Now the fun part starts.
If you’ve been wondering how to make ashwagandha oil feel useful in real life, start small. A little goes a long way, and this homemade ashwagandha oil can fit into your night routine without turning your bathroom into a spa commercial. Think warm hands, quiet room, and maybe 5 minutes before bed.
For calm nights: self-massage
Try a simple Abhyanga-style massage with your ashwagandha-infused oil. Warm a small amount in your hands, then rub it into your feet, temples, shoulders, and neck. These are the spots that tend to hold a lot of stress. Feet especially. They get ignored all day, then act shocked when you finally pay attention.
Here’s a easy routine:
- Warm 1 to 2 teaspoons of oil in your palms
- Massage the soles of your feet for 1 minute each
- Use gentle circles on the temples
- Rub shoulders and the back of the neck
- Let it sit for 5 to 10 minutes before rinsing or wiping off
And yes, you can do this before bed. It feels grounding. Not magic. Just nice.
For hair care: pre-shampoo oiling
This is one of the best ways to use ashwagandha oil for hair and skin. Massage it into your scalp with your fingertips, then pull a small amount through the ends of your hair. Leave it on for 30 minutes to 2 hours before washing. If your scalp feels dry or tight, this can feel extra soothing.
Want to make it more hair-focused? You can blend in a little bhringraj, brahmi, or amla in your next batch. That gives your DIY ashwagandha oil more of a hair mask feel.
For skin: body oil or spot care
After a shower, smooth a few drops over damp skin. That helps lock in moisture. You can also dab it on dry elbows, knees, or rough patches that need extra care. If your skin gets irritated easily, keep the layer thin and simple.
Quick note. Do a patch test first. Always. Put a tiny bit on the inside of your arm or behind your ear, then wait 24 to 48 hours. If it gets red, itchy, or weird, don’t use it on a bigger area. Botanicals can be lovely, but they can also be fussy.
If you’re making a bigger batch for yourself or a brand line, Aroma Monk’s lab-tested carrier oils and natural oils can help you keep your ingredient quality clean and steady. And if this is your first herbal project, this oil makes a great starting point for your next DIY too.
Embrace the Journey of DIY Wellness
That little jar on your shelf can feel like a big win. You started with a root, some oil, and a bit of patience, and now you’ve got your own homemade ashwagandha oil. Pretty cool, right?
The best part is how simple it really is. No mystery extras. No odd fillers. Just a clean ashwagandha infused oil you made yourself, with ingredients you chose on purpose.
And that matters. People keep looking for natural ways to calm stress, care for skin, and support hair, and a 2024 review of 9 clinical trials found ashwagandha lowered stress, anxiety, and cortisol compared with placebo study on cortisol and stress relief. Plus, DIY gives you more control over purity, smell, and feel. If you’re ready, start small, test it out, and share your first batch with a friend. Or keep it for yourself. I wouldn’t blame you.
Get a quote from Aroma Monk.
Essential Oil Supplier – Bulk pricing • Samples • Fast response