
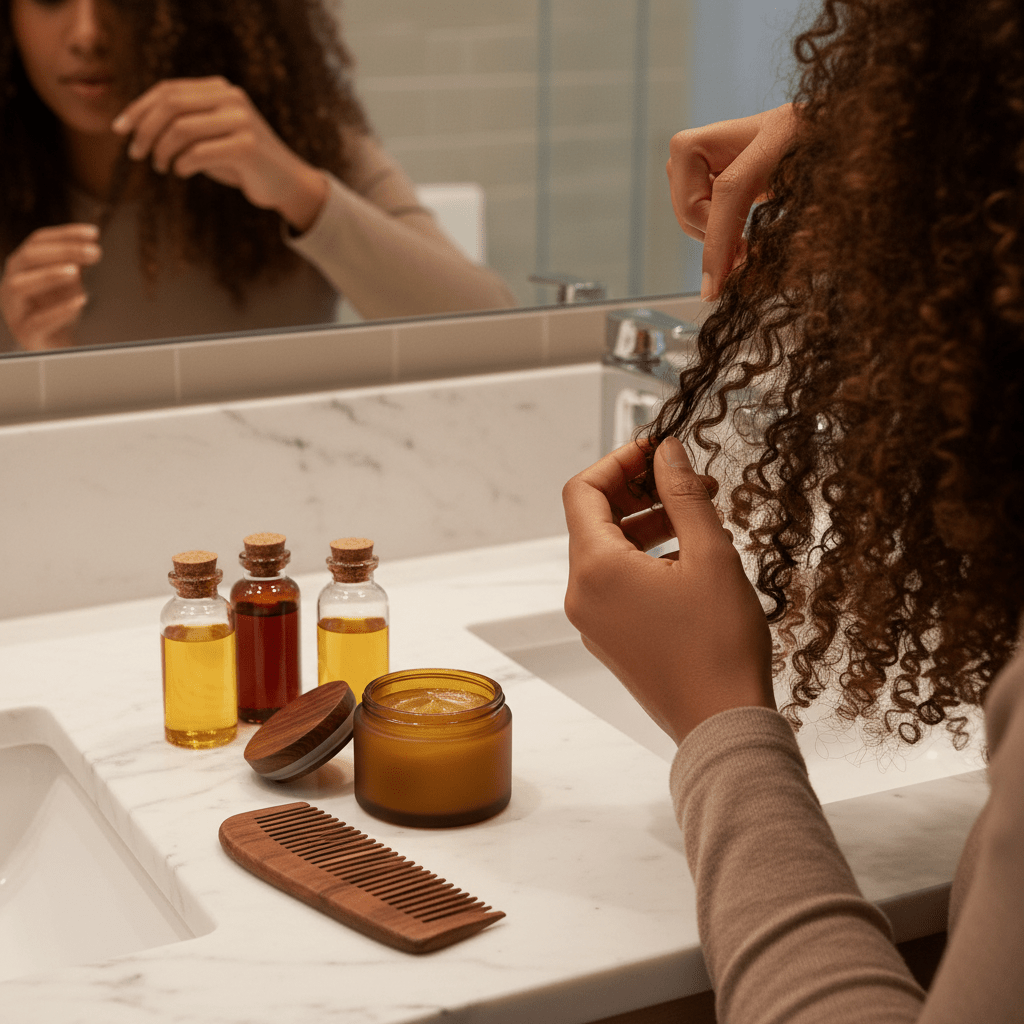
Why Natural Stylers Like Beeswax Are Taking Over Modern Hair Care
Ever open a bottle of styling gel and think, “Why does my hair feel weird after this?” You’re not alone. A lot of people are getting tired of heavy formulas, itchy scalps, and ingredient lists that read like a lab class. And with more shoppers reading labels now than ever, natural hair care is having a real moment. One market report says the natural hair care space was worth over $10 billion in 2024 and keeps growing fast, mostly because people want simpler products with fewer harsh extras.
That’s where beeswax for hair comes in.
It’s a classic natural hair wax that gives hold, shine, and texture without the same synthetic feel. Used right, beeswax hair styling can help seal in moisture, calm frizz, and keep flyaways in place. But it’s not magic, and it’s not for every head of hair. That’s part of the fun, honestly.
In this guide, we’ll look at the benefits of beeswax for hair, how to use beeswax on hair for different styles, a few DIY hair wax ideas, and how to remove beeswax from hair without turning wash day into a wrestling match. We’ll also touch on beeswax for dreadlocks, plus a few tips from people who’ve tried it and learned the hard way. So if you’ve been curious about beeswax pomade or wondering if it’s worth swapping out your old styling product, let’s sort it out together.
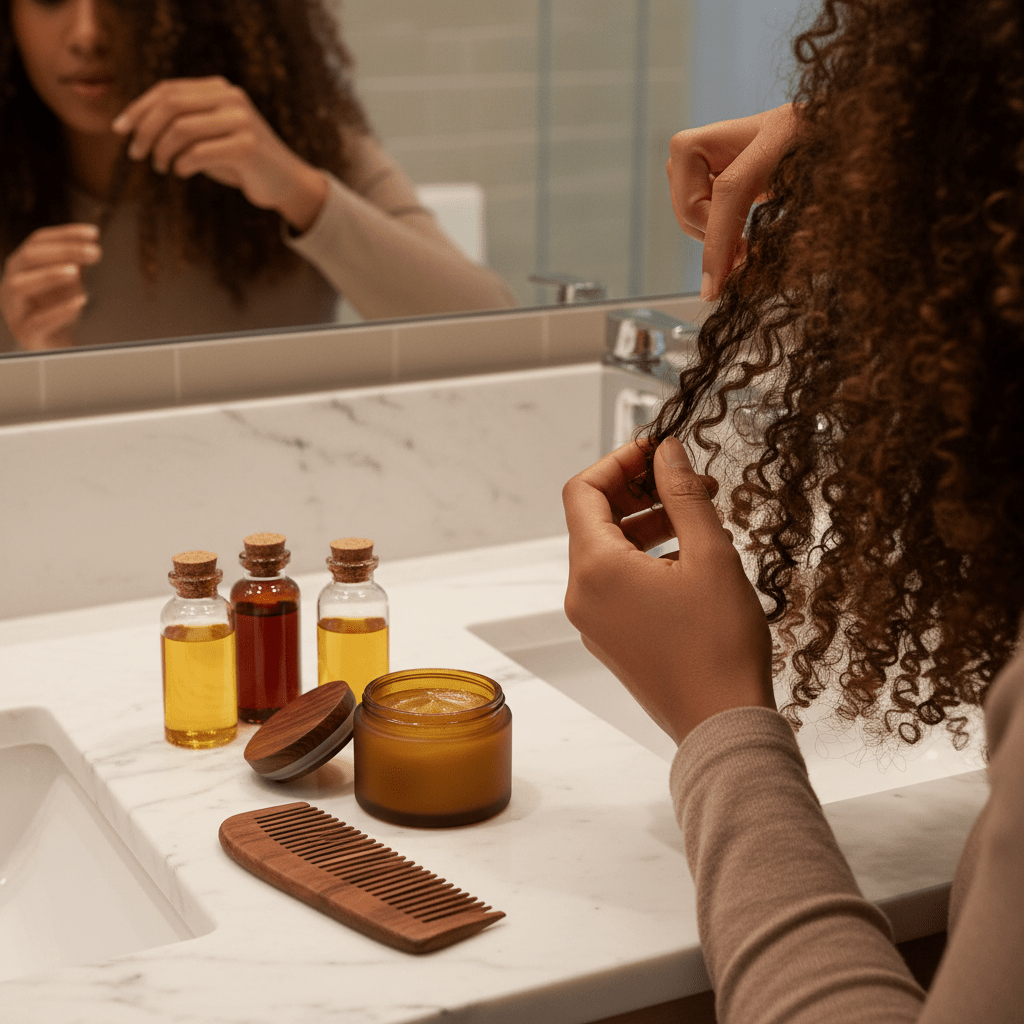
What is Beeswax? The Science Behind This Natural Hair Hero
Ever picked up a jar of wax and thought, “Wait… what is this stuff, really?” Fair question. Beeswax sounds old-school, but it’s one of the most useful ingredients in natural hair wax and beeswax hair styling products.
Beeswax comes from honeybees. They make it to build the walls of their hives. Pretty cool, right? It’s mostly made of esters, fatty acids, and long-chain alcohols, which is why it has that smooth, firm feel.
For hair, beeswax does a few handy things:
- It helps hold moisture in by making a light barrier
- It adds shine without making hair feel as slippery as some oils
- It gives a firm but bendable hold, so styles stay put without feeling crunchy
That last part is a big reason people like using beeswax on hair. It works for edges, twists, braids, curls, and DIY hair wax blends. Plus, it melts at about 63 to 65°C, so it stays solid in your jar but softens in your hands. That makes it useful for beeswax pomade and other styling products that need to hold shape.
There are two common kinds. Yellow beeswax is the less processed kind, and white beeswax is refined more. For hair, yellow beeswax is usually the better pick because it keeps more natural extras from the hive, including propolis. White beeswax can still work, but if you want a more natural hair styling base, yellow is the one people usually reach for.
And no, beeswax is not some magic hair vitamin. It does have tiny traces of beta-carotene, which is a Vitamin A precursor, but the real hair benefit comes from the coating it leaves behind. Think protection, shape, and a little shine. Not a miracle. Just solid, old-school help.
If you’re building a product line, testing a DIY blend, or looking for pure ingredients for natural hair care, Aroma Monk’s lab-tested essential oils and carrier oils can pair well with beeswax-based formulas for a clean, custom finish.
The Real Pros and Cons of Using Beeswax on Your Hair
So, is beeswax for hair a sweet little miracle or a sticky mess waiting to happen? A bit of both, honestly. And that’s why people keep talking about it.
The pros are easy to see. Beeswax gives strong hold, which is a big deal if you wear twists, braids, slick styles, or beeswax for dreadlocks. It helps smooth flyaways, tame frizz, and keep a style in place longer than many soft creams. For dry, thick, curly, or coily hair, that kind of grip can feel like a win.
It also helps seal moisture in. Beeswax sits on the hair shaft and forms a light barrier, so water leaves more slowly. That can help cut down on breakage, which matters if your hair snaps easily or gets dry fast. Plus, if you make DIY hair wax at home, it can be pretty budget-friendly. A small jar goes a long way, and that’s nice when store-bought beeswax pomade prices start creeping up for no clear reason. Because, of course, they do.
Here’s the quick version:
| Pros of beeswax on hair | Why people like it |
|---|---|
| Strong hold | Great for twists, edges, braids, and locs |
| Frizz control | Helps smooth rough strands |
| Moisture sealing | Can help hair feel softer for longer |
| Simple ingredients | Often fewer extra fillers than many gels |
| Low cost for DIY | A little product can last a while |
But beeswax isn’t all easy breezy.
The biggest downside is buildup. Since beeswax is not water-soluble, it can stick around if you use too much or keep adding more without a proper wash. That can make hair feel heavy or greasy. And yes, it can be a pain to remove. If you’ve ever wondered how to remove beeswax from hair without losing your patience, you’re not the only one.
Fine hair can be tricky too. If your strands are very light or flat easily, beeswax may weigh them down fast. Also, some people put it right on the scalp, which can lead to clogging or irritation if done a lot. So the safer move is usually to use it on the hair, not the skin.
A quick caution: if you’re sensitive to bee products, do a patch test first. Propolis and other bee-based bits can bother some people.
The good news? Most of these issues are manageable with the right method. Less product. Better placement. Better wash-out steps. We’ll get into that next.
How to Use Beeswax for Hair: A Step-by-Step Guide for Different Styles
You know that moment when your hair finally looks how you want it… and then one gust of wind ruins the whole thing? Yeah. Been there. That’s where beeswax for hair can feel like a small lifesaver, especially if you want hold without that stiff, fake feel.
The trick is simple: use a tiny bit, warm it up first, and place it where your style needs help. Not everywhere. Definitely not everywhere.
For Short, Textured Styles Like Pixies and Spikes
If you’ve got a pixie cut, short curls, or spiky layers, think small. Like, pea-sized small.
- Scoop out a tiny amount of natural hair wax.
- Rub it between your palms until it softens.
- Press it into dry hair with your fingers.
- Twist or pinch sections to build texture.
This warm, emulsify, apply method works best because the wax spreads more evenly once it softens in your hands. If you slap it on cold, it can clump. And then you get that greasy, helmet-ish look nobody asked for.
For short styles, beeswax pomade can give shape and shine without making hair look wet all day. Start with less than you think you need. Then add a little more if needed. A little. Not a lot.
For Dreadlocks and Twists
This is where beeswax for dreadlocks gets talked about a lot, but care matters here. A lot.
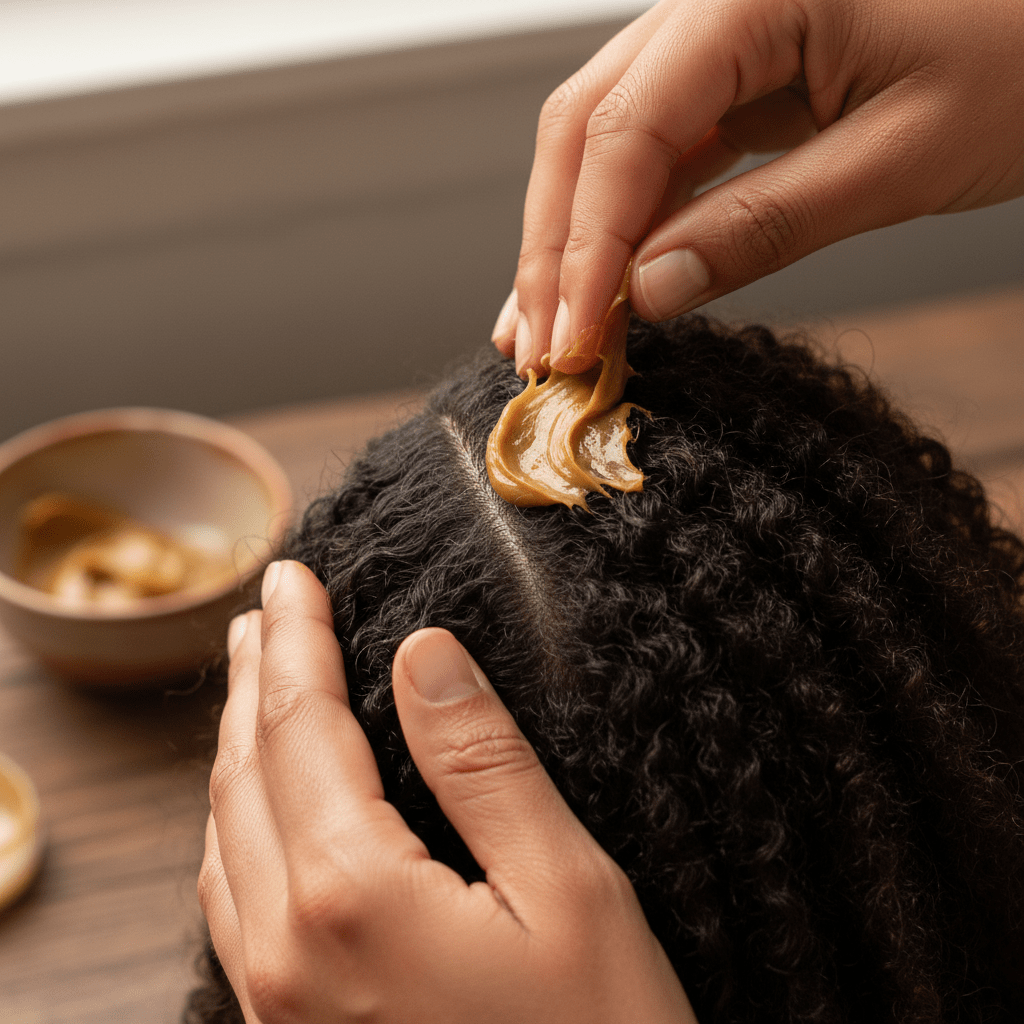
Start with clean, dry hair. That part matters because old oil, dust, or moisture can trap buildup fast. If you’re retwisting, take a small dab of pure beeswax or a light beeswax blend and warm it between your palms. Then use palm rolling on the new growth or loose spots, not the whole loc.
That’s the move. Keep it at the roots, keep it light, and don’t keep layering it week after week. Many locticians prefer less wax and more clean maintenance, since too much beeswax can make washing harder later.
For twists, the same idea works. Use just enough to tame frizz and help the twist hold shape while it sets. And if your hair is already locked or starting to lock, think of beeswax as a helper, not the star of the show.
For Sealing Ends and Controlling Frizz
This one’s great for long hair, braids, and styles that get fuzzy at the ends.
Mix a little beeswax with a light oil, like jojoba or coconut oil, to make a softer DIY hair wax blend. Then rub a tiny bit onto your fingertips and smooth it over the ends. That can help seal in moisture and keep the cuticle looking flatter, which means less puff and fewer flyaways.
You can also use the same blend to smooth the outer layer of hair for a sleeker look. Just don’t overdo it. If your hair starts looking heavy or sticky, you went too far. That’s the honest truth.
A few quick reminders:
- Apply beeswax last, after leave-in products
- Use it on hair, not the scalp, unless you’re doing a very small retwist touch-up
- Start with clean hair so buildup doesn’t pile on
- Plan for removal later with a clarifying shampoo
If you’re making your own blend, Aroma Monk’s pure essential oils and carrier oils can pair nicely with beeswax for custom natural hair styling products. That’s handy if you want a DIY hair wax with a cleaner ingredient list and a scent that feels more personal than store-bought stuff.
And if you want the next step, try one style first. Don’t test every idea in one wash day. That gets messy fast.
Get a quote from Aroma Monk.
Essential Oil Supplier – Bulk pricing • Samples • Fast response
Easy DIY Beeswax Hair Pomade Recipe (Plus Customizations)
You know that tiny win when your hair finally stays put? That little “yes!” moment? This is that in jar form.
If you’ve been reading labels more lately, you’re not alone. A lot of people are moving away from synthetic styling stuff and toward simpler ingredients. In one market report, over 42.6% of hair care users said they had shifted from synthetic to natural products, and many shoppers now check ingredient lists before buying natural hair care market report. So a DIY beeswax hair pomade makes a lot of sense if you want control over what goes on your head.
Simple Base Recipe
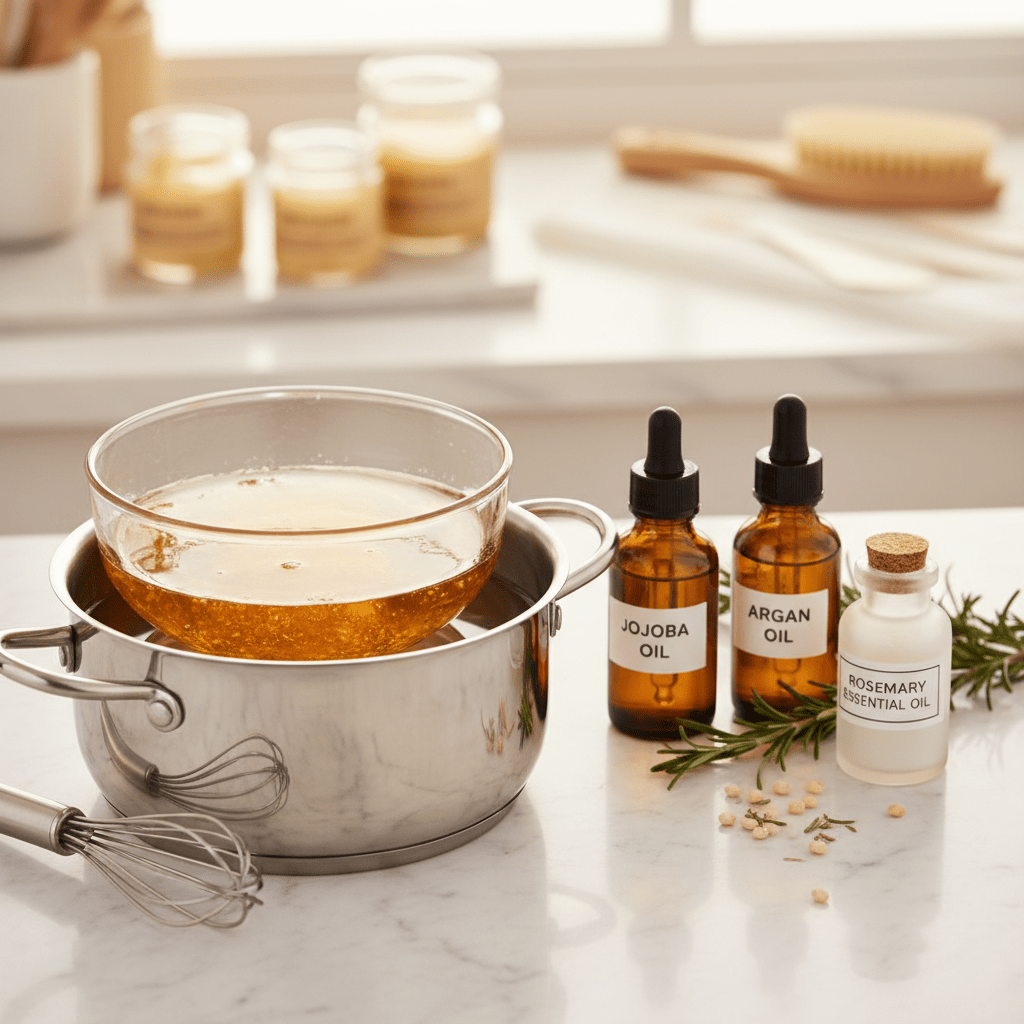
Here’s a basic beeswax pomade recipe that works well for hold and shine:
- 2 tbsp beeswax pellets
- 4 tbsp carrier oil like jojoba or coconut oil
- 5 to 10 drops essential oil for scent
If you want a lighter feel, jojoba oil is a nice pick. It tends to feel less heavy. Coconut oil gives more slip and softness. Both can work well in natural hair wax blends.
How to Make It
- Set up a double boiler. If you don’t have one, use a heat-safe bowl over a small pot of simmering water.
- Add the beeswax pellets and carrier oil to the bowl.
- Stir slowly until the beeswax melts fully.
- Take the bowl off the heat.
- Add your essential oil and mix again.
- Pour the warm mix into a clean tin or small jar.
- Let it cool all the way before using it.
That’s it. Pretty simple. And yes, the double boiler part matters because beeswax melts around 63 to 65°C, so gentle heat helps keep the mix smooth instead of scorched.
Want a Firmer or Softer Hold?
This is where you can play around a little.
| Goal | What to change |
|---|---|
| Firmer hold | Add a bit more beeswax |
| Softer hold | Add a bit more oil |
| Easier scoop | Use a little less wax |
| More shine | Add a touch more coconut oil |
A good rule is this: more beeswax means more hold, but also more stiffness. More oil means a softer pomade that spreads easier. If you’re making beeswax pomade for short styles or beeswax for dreadlocks touch-ups, a firmer mix may help. For frizz control or a softer finish, go lighter.
Best Essential Oils to Try
A few drops can make the pomade smell nicer, but some oils also bring extra hair care perks:
- Peppermint oil for a cool, fresh scalp feel
- Lavender oil for a calm, soft scent
- Rosemary oil if you want a growth-focused mix
- Tea tree oil if your scalp gets oily or flaky
Keep the total essential oils low, around 0.5% to 2% of the full batch. More is not better here. Really. Too much can irritate the scalp.
If you’re building formulas for a hair care brand, this is also where clean ingredients matter. Aroma Monk’s pure essential oils, carrier oils, and rose water can fit nicely into custom natural hair styling products, especially if you want lab-tested inputs for a cleaner DIY or small-batch line.
A Few Quick Tips
- Start with a tiny amount on hair
- Store the tin in a cool, dry place
- Use clean, dry hands when scooping
- Do a patch test if you’re sensitive to bee products
And if you make a batch that feels too hard? No big deal. Melt it again and add more oil. Too soft? Add a little more beeswax. That’s the beauty of making your own DIY hair wax. You can tweak it until it feels right.
Next up, we’ll get into how to remove beeswax from hair without making wash day a whole event.
The Right Way to Remove Beeswax From Hair (And Avoid Buildup)
Ever washed your hair and still felt wax. That sticky, heavy, kind-of-gross feeling? Yep. Beeswax can do that if it’s left in too long.
Here’s the deal: beeswax is not water-soluble. So plain water won’t lift it out well. It clings to the hair shaft, which is great for hold, but a pain on wash day. That’s why how to remove beeswax from hair takes a little more than a quick rinse.
Step 1: Break the wax down first
Before shampoo touches your hair, coat it with a warm oil. Olive oil and coconut oil both work well here. Massage the oil through the waxy spots, especially the ends and any areas that feel coated. Then let it sit for 20 to 30 minutes.
This gives the oil time to soften the beeswax hair styling buildup. Think of it like loosening tape before you peel it off. Much easier. Less drama.
Step 2: Wash it out with the right shampoo
After the oil treatment, use a clarifying shampoo if you have it. If not, two rounds of regular shampoo can still help. Start on dry or lightly damp hair, then work the shampoo in before adding more water. That helps the cleanser grab the wax better.
Be gentle. No rough scrubbing. No panic rubbing. That just tangles hair and makes the whole thing worse.
Step 3: Finish with a light rinse
If your hair still feels a little coated, an apple cider vinegar rinse can help clear leftover residue and leave the scalp feeling more balanced. Mix it with water, pour it through your hair, then rinse again after a short wait.
A few quick notes:
- Don’t use beeswax on the scalp every day
- Don’t skip the oil step if buildup is heavy
- Use clarifying shampoo no more than once a week
- If you wear beeswax for dreadlocks, keep wax use light and only on new growth
A lot of people are asking for simpler hair care now, and that makes sense. In 2025, more than 42.6% of hair care users said they had switched from synthetic products to natural ones, and many now check labels before they buy natural hair care market data. So if you’re using natural hair wax or DIY hair wax, learning the wash-out step matters just as much as the styling step.
And if you’re making your own pomade or blend, clean ingredients help on both ends. Aroma Monk’s pure essential oils, carrier oils, and rose water can fit into natural hair care formulas that are easier to style with and easier to rinse out later. Nice little win, right?
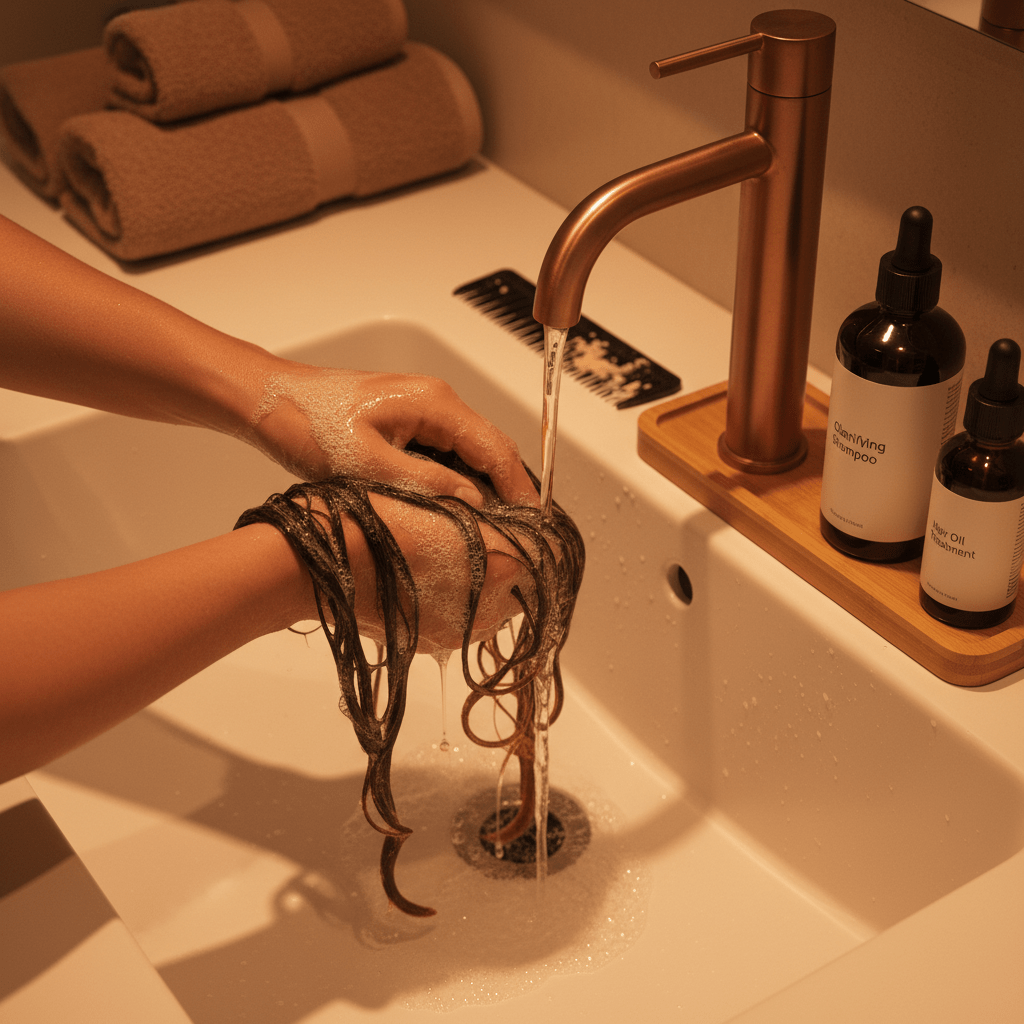
Next, we’ll look at a few simple mistakes people make with beeswax for hair, so you can skip the sticky part and keep the good part.
Embracing Beeswax: Your Next Step Towards Natural Hair Styling
Beeswax isn’t just another jar on the shelf. It’s the kind of thing people try once, then quietly keep reaching for when they want hold that actually stays put.
And that makes sense. Beeswax for hair can help with texture, frizz, shine, and moisture lock-in, especially if your hair is thick, curly, coily, or made for styles like twists and locs. But the trick is using it the right way. A tiny amount goes far, and clean-up matters just as much as styling.
If you want to start simple, try using beeswax on hair ends first. Or mix up a small batch of DIY hair wax and test it on one style before going all in. That way, you can see how your hair feels, how long the hold lasts, and whether you like the finish.
Here’s the fun part: you don’t need a huge routine to get started. Just a little product, warm hands, and a bit of patience. And if you make your own beeswax pomade, share what worked. We all learn faster that way.
For brands and makers, this is also a smart place to test natural formulas with clean inputs like Aroma Monk’s pure essential oils, carrier oils, and rose water. Nice ingredients make a nice blend. Simple as that.
Get a quote from Aroma Monk.
Essential Oil Supplier – Bulk pricing • Samples • Fast response