
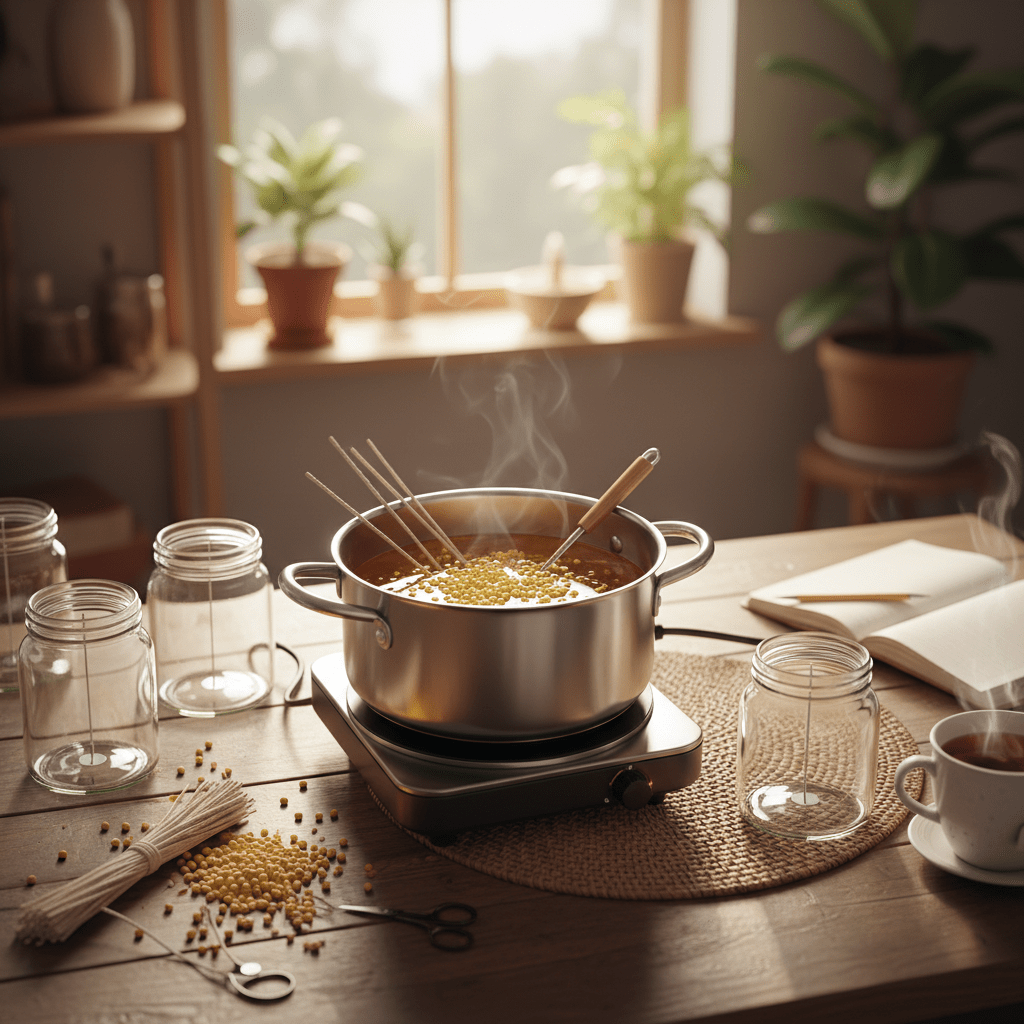
Introduction: Illuminate Your Home Naturally with Homemade Beeswax Candles
You know that weird moment when you light a candle and wonder what’s really floating in the air? A lot of people are asking that now. And for good reason. Indoor air can be more polluted than we think, and the EPA says it can be 2 to 5 times worse than outdoor air, sometimes even higher during certain activities EPA indoor air guide. That’s why many folks are looking hard at paraffin candles and their smoky side effects.
Beeswax candles feel like a gentler choice. They’re beautiful, they smell warm and honey-like, and they fit right into a more natural home. Plus, homemade beeswax candles are a fun DIY project if you like simple, hands-on stuff that actually gets used. No fancy setup needed. Just a few beeswax candle supplies, a little patience, and a kitchen table.
This beeswax candle making guide will walk you through how to make beeswax candles step by step, even if you’ve never tried natural candle making before. We’ll cover the best materials, easy methods, and the little tricks that help your first batch go smoothly. If you’ve been curious about making candles with beeswax pellets or want a basic beeswax candle recipe you can trust, you’re in the right place.
Ready? Let’s make something cozy.
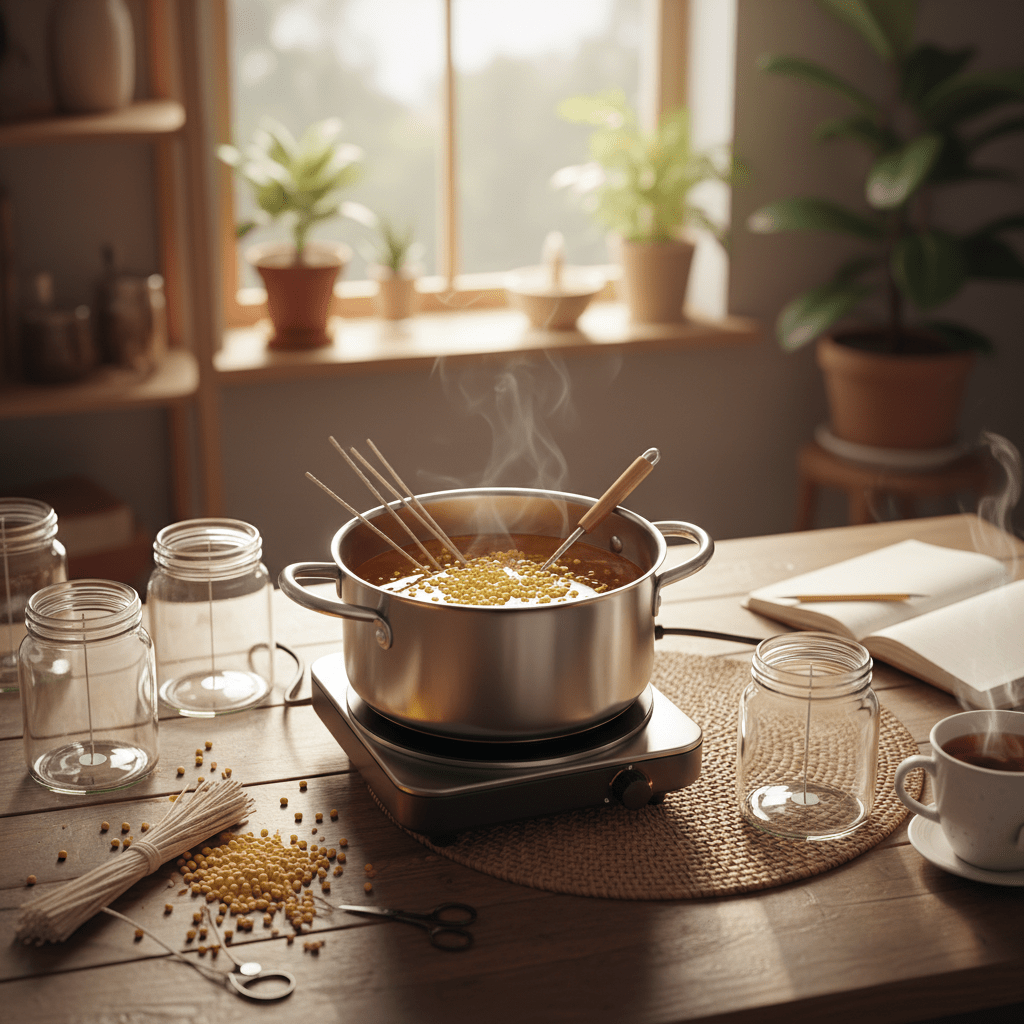
Section 1: The Golden Benefits: Why Choose Beeswax for Candle Making?
There’s something nice about a candle that feels calm before you even light it. Beeswax has that kind of vibe. It looks warm, smells soft and honey-like, and makes a room feel a little more cared for.
But the appeal goes past looks. If you’ve ever worried about smoky candles, you’re not alone. The EPA says indoor air is often 2 to 5 times more polluted than outdoor air, and burning paraffin candles can add fine particles, carbon monoxide, VOCs, and other stuff you probably don’t want hanging around your living room (EPA indoor air guide). Beeswax candles are often picked because they tend to burn cleaner than paraffin, with less soot in normal use.
And here’s a thing people love about homemade beeswax candles: they burn slowly. Beeswax has a higher melting point than many other waxes, so your candle usually lasts longer and keeps its shape better. That slower burn can make a big difference if you’re making candles for gifts, your home, or a small shop. No one likes a candle that disappears in two evenings. Kind of rude, honestly.
There’s also the eco side. Beeswax comes from bees, so it’s a renewable byproduct of honey production, and it breaks down naturally over time. That makes it a nicer fit than petroleum-based paraffin for people who want natural candle making with a lighter footprint.
A lot of makers also love the scent. Pure beeswax has a gentle honey smell on its own, so it can stand alone or pair well with essential oils. If you’re making beeswax candles with a simple beeswax candle recipe, that built-in scent gives you a lovely head start. No fake perfume-y cloud. Just warm and clean.
Why people pick beeswax candles
| Benefit | What it means for you |
|—|—|
| Cleaner burn | Less soot than paraffin in many cases |
| Longer burn time | Slower melt, so the candle lasts longer |
| Natural scent | Soft honey note without heavy perfume |
| Renewable source | Made from a hive byproduct |
| Biodegradable | Breaks down more easily than petroleum wax |
One quick note, though. Some folks say beeswax candles purify the air or release negative ions. That claim gets repeated a lot, but there isn’t solid peer-reviewed proof for it. So it’s better to think of beeswax candles as a cleaner, more natural choice, not a magic air scrubber. Still pretty great.
If you’re gathering beeswax candle supplies for your first batch, this is the wax that makes learning feel rewarding fast. It’s sturdy, it smells lovely, and it gives your DIY beeswax candles a polished look without much fuss. Plus, once you make one good candle, you’ll probably want to make ten more. I know I would.
Section 2: Your Candle Making Toolkit: Gathering the Right Supplies
Before you pour a single drop of wax, let’s get the gear sorted. This part isn’t glamorous. But it saves a lot of mess later. And yes, I’ve learned that the hard way.
The must-haves
Here’s the basic beeswax candle supplies list for beginners:
- Pure beeswax: Pellets are easiest for new makers because they melt faster and measure more neatly. Blocks work too, but you’ll need to chop or grate them first.
- Wicks: Cotton wicks are the safest starter pick. Wood wicks can work, but they take more trial and error.
- Double boiler: This keeps the wax from getting too hot. If you don’t have one, use a heat-safe bowl over a pot of simmering water.
- Candle containers: Thick glass jars or candle tins are the best beginner choice.
- Thermometer: Not fancy. Just useful. It helps you keep the wax in the right range.
If you’re making candles with beeswax pellets, the process usually feels smoother because the pellets melt at an even pace. Solid blocks are fine, but they can be a little stubborn if you’re new. That extra step sounds small. It isn’t always.
Yellow beeswax or white beeswax?
Beeswax usually comes in two main looks: yellow and white.
| Type | What it is | Best for |
|—|—|—|
| Yellow beeswax | More natural, lightly filtered, warm golden color | Rustic, honey-toned homemade beeswax candles |
| White beeswax | More filtered, paler color, milder scent | Cleaner-looking candles or lighter color blends |
Yellow beeswax keeps more of that classic honey look and smell. White beeswax is filtered more, so it’s often chosen when you want a softer color or plan to add your own scent. For a first beeswax candle recipe, yellow wax usually feels more forgiving and cozy.
Pellets vs. blocks
Pellets are great for beginners. They measure fast, melt fast, and don’t need much prep. Blocks can be cheaper in bulk, which is nice if you’re making lots of DIY beeswax candles, but they take more work at the start.
So if you just want to test the water, pellets are probably the better pick. If you’re buying in larger amounts for a small business or batch-making day, blocks can make sense too.
Wick sizing is a big deal
This part matters more than people think. A wick that’s too small can cause tunneling, where the wax burns down the middle and leaves a rim on the sides. Too big, and you get smoking, soot, and a flame that looks like it’s mad at you.
A simple rule: match the wick to the container width. Beeswax usually needs a slightly stronger wick than softer waxes because it’s denser and melts at a higher temperature.
Here’s a rough starting guide:
| Container diameter | Starting wick range |
|—|—|
| 2 to 2.5 inches | Small cotton wick |
| 2.5 to 3 inches | Medium cotton wick |
| 3 to 3.5 inches | Large cotton wick |
| 3.5 inches and up | Extra-large wick or test two wicks |
Always test burn. Always. A wick that works in one jar might flop in another, even if they look almost the same.
And for the vessel, stick with heat-safe glass, sturdy tins, or candle jars made for hot wax. Pretty thrift-store glasses can be cute, sure… but cute doesn’t help much if the jar cracks.
If you want to keep going, next up is the fun part: melting, pouring, and making your first beeswax candle actually look like one you’d be proud to gift.
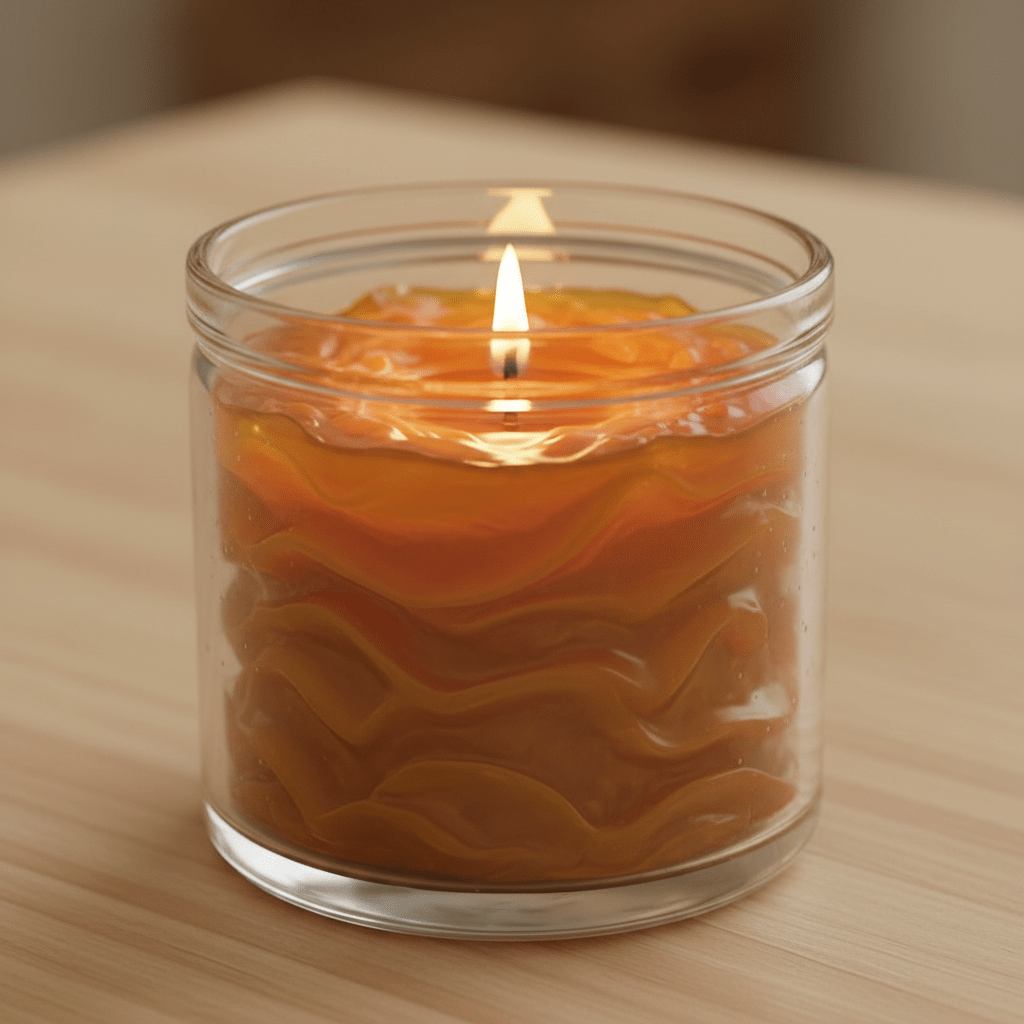
Section 3: The Step-by-Step Guide to Making Your First Beeswax Candle
You know that tiny thrill when a project starts looking like the picture in your head? That’s this part. We’re finally making the candle.
Step 1: Set up your space
Clear a flat table and cover it with newspaper, kraft paper, or an old towel. Beeswax is lovely… but it’s clingy when it spills. Keep your beeswax candle supplies close: wax, wick, jar, thermometer, spoon, and your double boiler setup.
Put a few paper towels nearby. And maybe don’t wear your favorite shirt. Ask me how I know.
Step 2: Measure the wax
Before you melt anything, check how much wax your container needs. A simple way is to fill the jar with wax pellets, then pour them into a measuring cup by weight. For most beeswax candles, you’ll use about 1 ounce of wax for every 1 ounce of jar space, but it can vary a little by shape.
If you’re making candles with beeswax pellets, this part feels easy because the pellets settle neatly. With blocks, you’ll need to chop first, which is fine… just a bit more stubborn.
Step 3: Center and secure the wick
Place the wick in the middle of the jar. Use a wick sticker, a tiny dab of melted wax, or even a little glue dot to hold the base down. Then keep the top straight with a wick bar, chopstick, or pencil laid across the jar.
Centered wick. Big deal. If it drifts, the candle may burn unevenly, and nobody wants a lopsided little tunnel.
Step 4: Melt the beeswax safely
Now for the warm part. Use a double boiler, not direct heat. Beeswax melts around 144 to 149°F, and the sweet spot for pouring is usually about 155 to 160°F. A lot of makers land near 160°F for a smooth pour beeswax temperature guide.
So, put water in the bottom pot, bring it to a gentle simmer, and set your wax in the top pot or heat-safe bowl. Stir now and then. Don’t rush it. If beeswax gets too hot, it can darken, lose some of that soft honey smell, and become a fire risk if you really push it. Keep things calm.
A quick safety note: never leave melting wax alone, and keep it away from kids, pets, and that one friend who always leans too close.
Step 5: Pour slowly
Once the wax reaches pour temp, take it off the heat and let it settle for a minute. Then pour in a slow, steady stream down one side of the jar. This helps cut down on air bubbles and makes the top look smoother.
Don’t dump it in all at once. That’s how you get weird pockets, sinkholes, and a surface that looks like it had a rough day.
If you’re adding essential oils, use scents that hold up well in candle heat. Lavender, cedarwood, patchouli, eucalyptus, and ylang-ylang tend to behave better than bright citrus oils. For beeswax candles, a fragrance load around 5 to 6% of wax weight is a solid place to start. That usually comes out to about 0.8 to 1 ounce of essential oil per pound of wax.
And yes, you can keep it simple. Pure beeswax already smells nice.
Step 6: Let it cool slowly
This part takes patience. Set the candle somewhere flat and leave it alone while it cools at room temperature. No moving it around. No tapping the jar. No checking every 4 minutes like it’s baking cookies.
Slow cooling helps prevent cracks, dips, and rough tops. If the wax sinks in the center, that’s normal with beeswax sometimes. You can top it off with a little extra melted wax once the first layer firms up.
Step 7: Cure before burning
Your candle may look done, but it still needs a rest. Let it cure for at least 48 hours, and up to 1 week if you want the best burn and scent beeswax candle curing advice.
Curing gives the wax time to settle and helps the fragrance blend in better. It also gives you a cleaner first burn, which matters because candle memory is real. If the first burn doesn’t reach close to the edge of the container, the candle can tunnel later. Annoying, yes. Fixable, also yes.
A simple first-burn checklist
| What to do | Why it helps |
|—|—|
| Trim the wick to 1/4 inch | Helps the flame stay steady |
| Burn long enough to reach the edges | Helps prevent tunneling |
| Keep away from drafts | Stops uneven burning |
| Set on a heat-safe surface | Protects your table |
| Don’t leave it alone | Basic candle safety |
If the top gets a little rough after cooling, don’t panic. A hairdryer on low or a gentle heat gun pass can smooth it out. Tiny imperfections happen. That’s handmade charm, not failure.
And that’s your first beeswax candle. Simple, warm, and honestly kind of satisfying.
If you want to go further, Aroma Monk’s pure essential oils and natural fragrance ingredients can be a handy next step for scent testing, especially if you’re making gifts, small-batch home candles, or product samples for a larger line. One good candle turns into three. Then six. Then suddenly your kitchen smells like a cozy craft shop.
Section 4: Safety First! Essential Precautions for Homemade Candles
You know that little voice that says, “This is probably fine”? Ignore it here. Hot wax is not the place to wing it.
Beeswax gets very hot, and like any wax, it can catch fire if overheated. So keep your melting setup calm and simple. Use a dedicated melting pot or a double boiler, not a pot you use for soup later. And keep a fire extinguisher nearby, just in case things go sideways. You may never need it. But if you do, you’ll be glad it’s there.
Work in a space with good airflow. Open a window if you can. Cover your table with kraft paper, newspaper, or an old towel, because spills happen fast and beeswax loves to stick. Also, keep kids and pets out of the area while you’re working. A curious cat near a wax pot? No thanks.
Here’s a quick safety checklist:
| Safety step | Why it helps |
|—|—|
| Use a double boiler | Keeps wax from overheating |
| Never leave melting wax alone | Lowers fire risk |
| Keep a fire extinguisher nearby | Gives you backup fast |
| Protect your work surface | Makes cleanup easier |
| Keep children and pets away | Prevents burns and spills |
When your candle is done, safe burning matters too. Trim the wick to about 1/4 inch before each use. Keep the candle away from fans, open windows, curtains, and anything that can catch fire. And never leave a burning candle alone, even for a minute. I know, it’s annoying. But it’s the kind of annoying that keeps your home standing.
Also, let the first burn go long enough to reach the edge of the jar. That helps the candle burn evenly later and cuts down on tunneling. Funny how one small habit can save the whole candle.
If wax spills, let it harden first. Then scrape it up gently. Much easier than trying to wipe hot wax around like a maniac. If you’re making homemade beeswax candles often, a simple cleanup kit nearby is a smart little move.
Section 5: Customizing Your Natural Beeswax Candles
You know that moment when a plain candle suddenly feels like a little gift? That’s the fun part. Once you’ve made your first batch of beeswax candles, you can start playing with scent, shape, and finish.
Add scent without fighting the wax
Beeswax already has its own warm honey smell, so scenting it can be a bit tricky. Some oils blend in nicely, while others kind of disappear. Citrus oils like sweet orange can smell bright at first, but they may fade faster. Stronger oils like cinnamon and clove usually hold up better, and they mix well with the natural scent of beeswax. Lavender is another easy win if you want something softer.
A good starting point is about 5% to 6% fragrance load by wax weight. So if you use 1 pound of wax, try around 0.8 to 1 ounce of essential oil. Don’t go wild on the first try. Too much oil can cause sweating, weak burns, or a candle that just behaves badly. And nobody wants that.
If you’re making candles with beeswax pellets, test in small batches first. Way easier to tweak 1 candle than 12.
Try molds for new shapes
Once you’ve got jars down, silicone molds are a fun next step. They let you make pillar candles, honeycomb shapes, or little bee designs. Cute, right? These are great for gifts, markets, or just making your shelf look less boring.
Pillar candles usually need a thicker wick than jar candles, so keep that in mind. The shape changes the burn, so you’ll need to test again. Yep, again. Candle making has a bit of that “measure twice, pour once” energy.
Finish the candle with simple extras
The candle itself can stay simple, but the outside can still look special. Try:
- Twine tied around a jar
- A hand-written label with the scent or date
- Kraft paper tags
- Dried herbs on the outside of the jar only
- A small brand sticker if you’re making homemade beeswax candles to sell or gift
Just keep anything decorative away from the flame. Outside only. Always.
A few scent combos that work well
| Scent style | Oils to try | Feel |
|—|—|—|
| Warm and cozy | Cinnamon + clove | Rich and spicy |
| Fresh and clean | Sweet orange + lavender | Light and cheerful |
| Earthy and calm | Cedarwood + patchouli | Deep and grounded |
| Soft floral | Lavender + ylang-ylang | Gentle and pretty |
If you’re planning to use natural fragrance ingredients or pure essential oils in bigger batches, a supplier like Aroma Monk can be handy for bulk orders, lab-tested oils, and custom blends. That matters more than people think once you start making candles for gifts, a shop, or a small product line.
And if your first few candles aren’t perfect? Good. That means they’re handmade. And usually, that’s the charm people love most.
Section 6: Troubleshooting Common Candle Making Mistakes
Ever pour a candle, feel proud for five whole minutes, and then spot a weird sunken top or a tiny wax moat on the sides? Yep. Been there. Candle making can feel almost unfair at first, but most problems have a pretty simple fix.
Tunneling: when wax stays on the sides
Tunneling is when the wax burns straight down the middle and leaves a thick rim around the jar. The usual cause is a wick that’s too small, or a first burn that ended too soon. Candles kind of remember that first burn pattern, so if the melt pool never reaches the edges, the candle often keeps doing that later.
The fix is simple. On the first burn, let the flame stay lit long enough for the melt pool to reach the full edge of the container. For most jars, that means about 1 hour per inch of candle width. If tunneling already started, you can sometimes correct it with a longer burn or a foil wrap around the top for one session. Handy little trick.
Cracks or sinkholes on the surface
A rough top usually means the wax cooled too fast. Beeswax likes a calm, slow cool. If the room is chilly or the candle got moved too soon, you may get cracks, dips, or little holes.
Try a second pour with a small amount of warm wax to fill the dent. Or use a heat gun on low and gently pass it over the top to smooth the surface. A hairdryer can work too, if that’s what you’ve got. No need to make it fancy.
Weak flame or a wick that goes out
If the flame is tiny, smoky, or keeps dying, the wick is probably too small for the jar. It may also be trimmed too short. Beeswax is denser than many other waxes, so it often needs a stronger wick than you expect.
Next time, choose a wick size based on the container width, not guesswork. And before each burn, trim the wick to about 1/4 inch. Too long gives you soot. Too short can snuff itself out. Goldilocks stuff, basically.
Quick fix guide
| Problem | Likely cause | What to try |
|—|—|—|
| Tunneling | Wick too small, first burn too short | Burn long enough for a full melt pool |
| Cracks or sinkholes | Wax cooled too fast | Use a second pour or heat gun |
| Weak flame | Wick too small or trimmed too short | Move up a wick size and trim less |
If you’re making beeswax candles with pellets, it gets easier to test small changes fast. And if you’re buying beeswax candle supplies for bigger batches, keep notes on wick size, jar width, and burn time. That tiny habit saves a ton of guesswork later.
Actually, that’s the real secret. Not perfection. Just better notes, one candle at a time.
Conclusion: Start Your Natural Candle Making Journey Today
Making beeswax candles at home doesn’t have to feel fancy or hard. It just starts with a small batch, a steady pour, and a little patience. And honestly, that’s part of the charm. You get a warmer room, a calmer mood, and a hands-on skill you can use again and again.
The simple flow is easy to remember:
- Gather your beeswax candle supplies
- Melt the wax gently in a double boiler
- Pour it slowly into a jar or mold
- Enjoy the cozy glow once it cures
That’s really the heart of this beeswax candle making guide. Clean your space, choose the right wick, keep the heat low, and let the candle set without rushing it. Tiny steps. Big payoff.
If you’re ready, start with one candle tonight. Then share your homemade beeswax candles with a friend, post your first win online, or tuck one into a gift bag for someone you love. We’d all rather make something by hand than buy another plain jar off a shelf, right? And if you end up hooked… well, don’t say I didn’t warn you.
For your next batch, try a small test with pure essential oils from Aroma Monk if you want a natural scent blend for gifts or product samples. It’s a nice next step for anyone who wants natural candle making to feel a little more polished.