
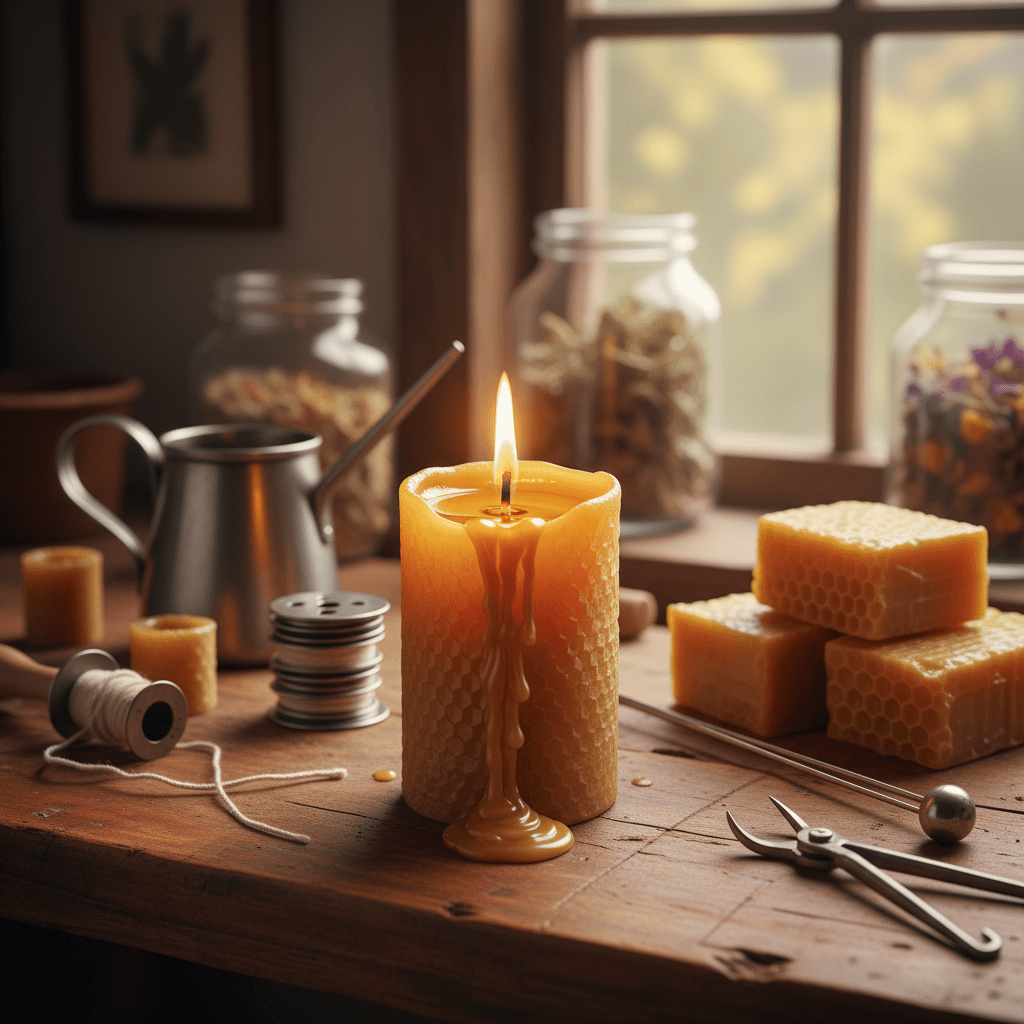
From Frustration to Perfection: Why Your Beeswax Candle Wick Matters
You know that sinking feeling. Your candle looks beautiful, smells warm, and then… it tunnels down the middle, smokes like crazy, or gives off a tiny weak flame that barely seems alive. Annoying, right?
That stuff happens a lot with beeswax candles. Beeswax is a premium wax, and it behaves differently than soy or paraffin. It has a higher melt point and a thicker melt pool, so the wick has to work harder to pull fuel up and keep the burn steady. Raw beeswax can also hold tiny bits like pollen and propolis, which can mess with wick flow.
So if you’re making DIY beeswax candles, the wick is a big deal. Pick the wrong one, and even a lovely hand-poured candle can go sideways fast. Pick the right one, and things get much better. Cleaner burn. Better melt pool. Less fuss.
In this guide, we’ll walk through how to choose a wick for beeswax step by step, so you can find the best wicks for beeswax without the guesswork. And yes, we’ll keep it simple.
For a deeper look at wax behavior, this beeswax melting point guide is a handy starting spot.
The Nature of Beeswax: Why It Demands a Different Kind of Wick
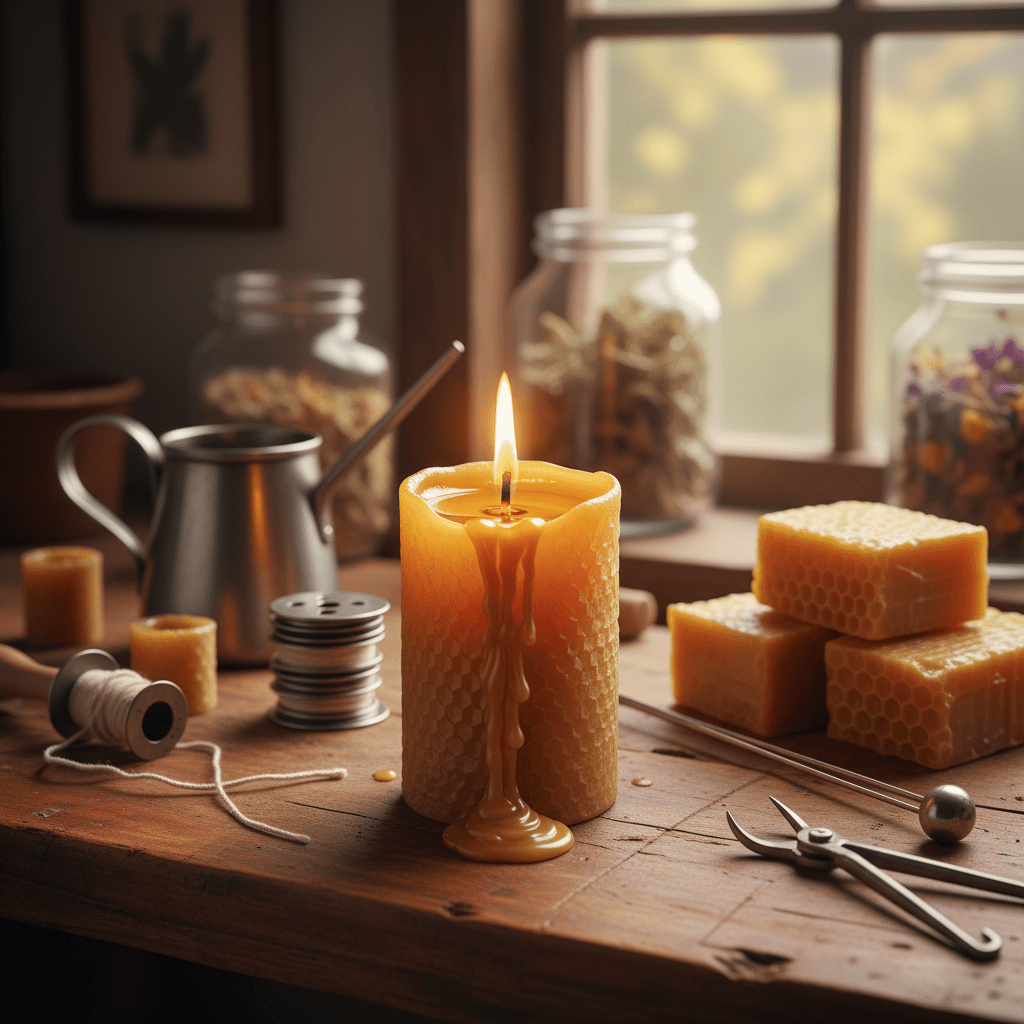
Beeswax looks simple. It really isn’t.
If you’ve ever watched a candle flame struggle, beeswax is often the reason the wick seems to work overtime. Beeswax melts at about 145 to 149°F, which is hotter than most soy waxes and many paraffin blends. So the wick has to throw off more heat just to make a full melt pool. If it can’t, you get beeswax candle tunneling, a weak flame, or that sad little burn that quits too soon.
And there’s more. Once melted, beeswax stays thicker than softer waxes. That means the fuel moves up the wick more slowly, so the wick has to pull harder to keep the flame steady. Think of it like sipping a thick milkshake through a tiny straw. Not impossible, but it takes more effort.
Raw beeswax can also bring tiny extras along for the ride. Pollen, propolis, and other little bits can clog beeswax candle wicks if the wick type is too delicate. That’s why cleaner, filtered wax usually behaves better, especially for DIY beeswax candles where you want a calmer, cleaner burn.
Why the wick shape matters
Not all natural candle wicks act the same.
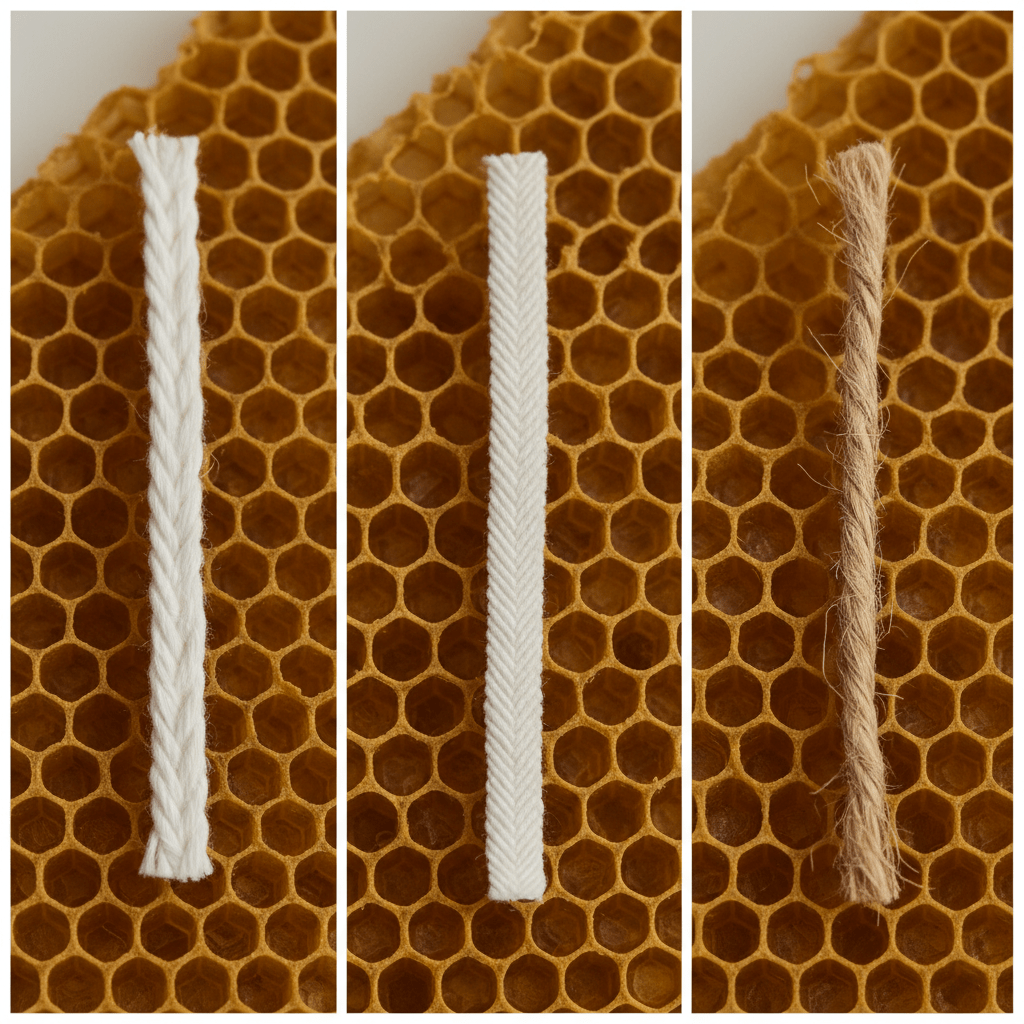
| Wick type | What it does | Best fit |
|---|---|---|
| Flat braid | Curls as it burns, so it self-trims | Softer waxes |
| Square braid | Stays upright and holds a stronger flame | Beeswax candles |
| Hemp wick | Burns slow and cool, but needs testing | Some beeswax blends |
For most beeswax candle making, square braid wicks are the usual pick. They stay firm in thick wax and help keep the flame from getting swallowed by the melt pool. Flat braid can work in some candles, but beeswax usually asks for more backbone. More muscle. Less wobble.
If you’re comparing beeswax candle wicks, start here: the wax is dense, the melt point is high, and the wick has to be built for that job. That’s the real trick in how to choose a wick for beeswax.
For a side-by-side wax comparison, this candle wax melting point chart is a handy reference.
Decoding Wick Materials: Cotton, Wood, and Hemp Explained
Picking a wick sounds simple. It usually isn’t.
And with beeswax candles, the wick material can make or break the burn. Beeswax is thick, rich, and a little stubborn. So the wick needs to keep up. If it’s too weak, you get beeswax candle tunneling or a tiny flame that keeps fading out. Too strong, and you may see smoke, soot, or that ugly mushroom cap on top.
Cotton wicks: the most common pick
Cotton is the usual starting point for beeswax candle wicks. It’s easy to find, easy to test, and it works well in many beeswax candle making projects. But not all cotton wicks are built the same.
| Cotton wick type | What it does | Best use |
|---|---|---|
| Flat braid | Curls as it burns and trims itself | Softer waxes and lighter candles |
| Square braid | Stays upright and burns steady | Beeswax candles and pillars |
| Coreless cotton | Clean, simple burn | Some containers, with testing |
For most beeswax candles, square braid wicks are the star of the show. They have a tighter, firmer shape, so they can stand up to thick molten wax without folding over. That matters a lot in dense beeswax, where the flame needs more pull and more heat to keep the melt pool moving. A flat braid wick can work in some cases, but it often feels a little too floppy for beeswax.
Wood wicks: pretty, but picky
Wood wicks are popular because they look cool and make a soft crackling sound. Cozy, right? They can be lovely in the right candle. But they need careful sizing, and that makes them trickier for beginners working with beeswax.
Beeswax already asks a lot from a wick. Add a wood wick, and you need to test even more closely. If the wick is too small, the flame may struggle. If it’s too large, it can burn too hot and make soot. So yes, wood wicks are stylish. But they’re not always the easiest choice for DIY beeswax candles.
Hemp wicks: a natural option worth testing
Hemp wicks are another natural candle wick choice. They’re often coated in beeswax, which helps them work better with beeswax candles. That coating also helps the wick light more smoothly and stay a little sturdier at first burn.
Hemp can give a slow, calm burn with low soot when it’s sized right. Nice, right? But it’s still a niche option compared with cotton square braid. You’ll want to test it carefully before making a whole batch. One small change in size can change the whole burn.
So which wick should you start with?
If you’re stuck and asking how to choose a wick for beeswax, start with square braid cotton. It’s the most trusted starting point for clean burning candles made with beeswax. Wood wicks are better if you want the look and sound, and hemp is a good natural option if you don’t mind extra testing.
If you sell beeswax candles, or make them in bulk, keep notes on every test. A simple wick sizing chart for beeswax can save a lot of guesswork. And if you’re blending in scents, check your raw materials too. Aroma Monk’s lab-tested essential oils, natural attars, and rose water can be useful for product lines that need clean, consistent ingredients without a lot of surprise in the final burn.
For more on burn behavior and candle testing, the National Candle Association’s safety tips are a good place to start.
The Science of Sizing: Matching Wick Size to Container Diameter
Ever watch a candle burn halfway down the jar and think, “Well… that’s not what I paid for”? Yep. That usually means the wick size missed the mark.
With beeswax candles, wick size is a big deal. The wick has one main job. It has to make a full melt pool, which means the melted wax reaches the edges of the container. If it’s too small, you get beeswax candle tunneling and a weak flame. If it’s too big, the flame can run hot, smoke, or leave soot on the jar.
Beeswax is tougher than it looks. It melts around 144 to 149°F and stays thicker when it’s melted, so the wick has to work harder to pull fuel up through the wax. That’s why a wick chart is only a starting point, not the final answer. Fragrance, color, container shape, and even how clean the wax is can change the burn.
A simple rule to start with
Measure the inner diameter of your container first. Then check a supplier’s wick sizing chart for beeswax and pick the starting size they suggest.
That’s the cleanest way to begin. Not perfect. Just smart.
| Container inner diameter | Good starting point | What to watch for |
|---|---|---|
| Up to 2 inches | Small wick size on the chart | Full melt pool after repeated burns |
| 2 to 2.5 inches | Middle wick range | Flame height and soot |
| 2.5 to 3 inches | Larger starting wick | Tunneling or overheating |
| 3 to 3.5 inches | Bigger wick size | Jar temp and mushrooming |
For beeswax candles, many makers start with square braid cotton for pillars and ECO-style wicks for containers, then test from there. And yes, test burns matter. A lot.
Actually, wait… there’s a better way to think about it. Don’t chase the “perfect” wick on paper. Chase the burn you can see.
What a good test burn looks like
After about 4 hours, a well-wicked candle should usually show:
- A full edge-to-edge melt pool
- A steady flame, not a wild one
- Melt depth around 1/4 to 1/2 inch
- Little or no soot
- No big carbon cap on the wick
If the wax only melts in the center, the wick is probably too small. If the flame is tall and smoky, it may be too large. Simple as that.
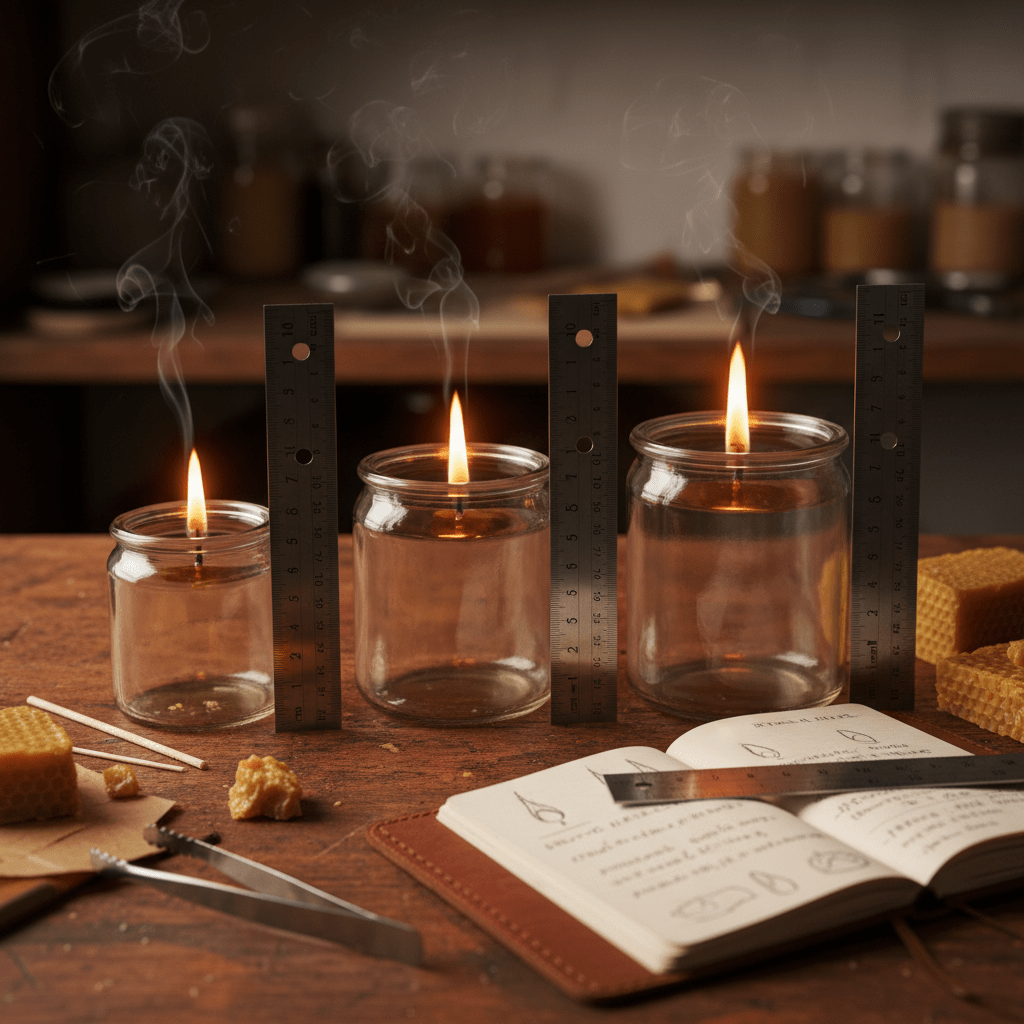
For burn testing, a steady setup helps too. Keep the candle on a flat, heat-safe surface and away from drafts. If you’re making DIY beeswax candles for sale, jot down each test in a little notebook or spreadsheet. Old-school? Sure. But it works.
And if you’re adding scent to your beeswax candle making process, keep the fragrance load light and re-test. A small shift can change the whole burn.
If you want more help choosing clean ingredients for scented candle lines, Aroma Monk’s lab-tested essential oils, natural attars, and rose water can fit well into product development plans that need pure, traceable raw materials.
For more burn-test basics, the National Candle Association safety tips are a good place to keep handy.
The Burn Test: Your Non-Negotiable Step to a Perfect Candle
You can read wick charts all day. Still, nothing beats lighting the candle and seeing what it actually does.
That first burn tells the truth. Not the label. Not the guess. The flame.
Here’s the deal: a beeswax candle can look perfect in the jar and still burn badly if the wick is off by just one size. Beeswax is dense and hot to melt, so the burn test is where you find out if your wick is doing enough work, or trying way too hard.
Start with the first burn
The first burn sets the memory ring. If you stop too soon, the candle may tunnel later, even if the wick size is decent. So give it time.
Do this:
- Trim the wick to about 1/4 inch.
- Light the candle on a flat, heat-safe surface.
- Keep it away from drafts, fans, and open windows.
- Let it burn until the melt pool reaches the edge of the container.
For many beeswax candles, that first burn should last about 1 hour per inch of candle diameter. So if your jar is 3 inches wide, plan for around 3 hours. Not a hard law, but a very good starting point.
Then move to 4-hour burns
After that first burn, test in 4-hour blocks. This gives you a better look at how the beeswax candle wicks behave over time, not just in the first excited few minutes.
That’s the part people skip. And then they wonder why the candle looked fine at minute 20 but fell apart later. Weird, right?
During each burn, watch for a few things:
- Does the melt pool reach the edge?
- Is the flame steady and about 1 to 2 inches high?
- Is the wick curling into a mushroom cap?
- Is there black soot on the jar?
- Does the candle stay lit, or does it self-extinguish?
Quick burn test checklist
| What you want to see | Good sign | Problem sign |
|---|---|---|
| Melt pool | Reaches the edge in about 1 hour per inch of diameter | Stays in the center and tunnels down |
| Flame height | Steady, around 1 to 2 inches | Too tall, wild, or weak |
| Wick tip | Small, clean tip | Mushrooming or a big carbon cap |
| Smoke | Little or none | Heavy soot or smoking |
| Flame behavior | Keeps burning | Goes out on its own |
How to read the results
Now the fun part. Well, fun if you like candle nerd stuff. I do.
If the candle is tunneling, the wick is probably too small. That means you should wick up one size. If the flame is tall, smoky, or mushrooming a lot, the wick is probably too large. Go down one size.
If the flame keeps going out, that’s usually a weak wick too. Wick up. Beeswax is thick, so the wick needs enough pull to feed the flame.
Here’s a simple way to think about it:
- Wick up if the candle won’t reach the edge, the flame is too low, or it self-extinguishes.
- Wick down if the flame is too big, sooty, or forms a heavy mushroom.
And yes, one change at a time. Always. If you change the wick, the fragrance, and the jar all at once, you’ll have no clue what fixed the problem.
Keep notes like a pro
This part sounds boring. It is a little boring. But it saves a ton of time.
Write down:
- wick type
- wick size
- jar diameter
- burn time
- flame height
- melt pool depth
- soot or mushrooming
If you make DIY beeswax candles in batches, these notes turn into your own wick sizing chart for beeswax. That’s gold later, especially if you sell clean burning candles or make custom blends.
If you’re testing scented beeswax candles, keep the fragrance load low at first. Aroma Monk’s lab-tested essential oils, natural attars, and rose water can be handy for product development, but any scent change means another burn test. That’s just how candle making works.
For a deeper look at safe burn testing, the National Candle Association safety tips are worth keeping nearby.
Get a quote from Aroma Monk.
Essential Oil Supplier – Bulk pricing • Samples • Fast response
Troubleshooting Common Wick Problems in Beeswax Candles
You can do everything “right” and still get a weird burn. That’s candle making for you. A wick that looked fine on the table can act totally different once the flame hits real beeswax.
So let’s keep this simple. If your beeswax candles are acting up, the wick is usually giving you clues. The trick is knowing how to read them.
1. Tunneling means the wick is too small
If wax stays stuck to the container walls and only the center melts, that’s tunneling. It usually means the wick can’t make enough heat for the jar width. Beeswax is thick and burns hotter than many other waxes, so a tiny wick can get buried fast.
What to do: wick up one size.
And if the first burn was short, that can make things worse. A beeswax candle needs time to form a full melt pool, or it may keep cutting a hole down the middle like it’s on a mission.
2. Sooting, smoking, or mushrooming means the wick is too large
A tall flame. Black smoke. A chunky carbon cap on the wick. Yep, that’s usually a wick that’s too big for the candle.
When the wick pulls more wax than the flame can burn cleanly, you get mushrooming. That little black bulb at the tip is just unburned carbon hanging around. Not cute. Not helpful.
What to do: wick down one size and trim the wick to 1/4 inch before each burn.
Also, check for drafts. A fan, open window, or even a busy hallway can make the flame dance around and soot more than it should.
3. Weak flame or self-extinguishing means the wick is too small
If the flame looks tired, keeps sinking into the melt pool, or goes out on its own, the wick may be too small. It just can’t feed itself enough wax.
That happens a lot with beeswax candles because beeswax is dense and a little stubborn when molten. The wick has to pull hard to keep the burn going.
What to do: wick up one size.
If you’re testing DIY beeswax candles, this is one of the easiest fixes to try first. Don’t change three things at once. Just shift the wick and see what happens.
Quick fix chart
| Problem | What it looks like | Best fix |
|---|---|---|
| Tunneling | Wax left on the walls | Wick up one size |
| Sooting or mushrooming | Smoke, soot, big carbon cap | Wick down one size and trim to 1/4 inch |
| Weak flame | Small flame, self-extinguishing | Wick up one size |
A few beeswax candle tips that save time
- Start with a clean, filtered wax if you can.
- Keep your wick trimmed.
- Test one change at a time.
- Watch the first 4-hour burn closely.
- Write down what happened. Boring? Maybe. Helpful? Absolutely.
For makers who want more control over scent and raw materials, Aroma Monk’s 100% pure, lab-tested essential oils, natural attars, and rose water can fit nicely into beeswax candle making and other clean-burning candle lines. If you’re building products for sale, that kind of ingredient consistency matters a lot.
And if you’re still stuck, don’t panic. I’ve seen plenty of candle makers think their whole batch was ruined when all they needed was one wick size change. Honestly, that tiny tweak can make the whole candle behave better.
For candle safety reminders and burn-test basics, the National Candle Association’s safety tips are worth keeping nearby.
Advanced Wicking: How Scent, Color, and Priming Affect Your Burn
You know that moment when a candle looks perfect on the shelf, but the first light tells a different story? Yeah. That’s where a lot of beeswax candle makers get surprised.
Fragrance can change the burn more than people think. Even a small amount of essential oil or fragrance oil can shift how fast wax melts and how well the wick feeds the flame. With beeswax candles, that often means you may need to wick up a size and test again. Not every time, but often enough that you should treat scent like a new recipe, not a tiny add-on.
Color can cause trouble too. Powdered colorants, like mica, can cling near the wick and slow down fuel flow. Liquid dyes usually behave better, but they can still change the burn a bit. So if you switch from plain wax to colored wax, don’t trust the old wick choice. Re-test it.
Priming matters more than you’d think
Raw cotton wicks don’t always light or burn well right away. In beeswax candle making, priming helps a lot. Just dip the wick in fully melted beeswax, pull it out, let the extra drip off, then straighten it and let it cool.
Simple. Old-school. Works.
That little step helps the wick stand up, light easier, and start burning the way it should from the first flame. Pre-primed wicks can save time too, especially if you’re making a bunch of DIY beeswax candles or trying to keep your batches more even.
Here’s a quick cheat sheet:
| Change you make | What it can do | What to do next |
|---|---|---|
| Add fragrance | May weaken or change fuel flow | Re-test and maybe wick up |
| Add mica or powder | Can clog the wick | Try liquid dye instead, then test |
| Use raw wicking | May light poorly | Prime it in beeswax first |
| Switch a formula | Burn may shift a lot | Start fresh with a burn test |
And if you’re working with clean ingredients for scented candles, Aroma Monk’s 100% pure essential oils, natural attars, and rose water can fit nicely into product testing. Just keep in mind that every formula tweak can affect the wick, the melt pool, and the final flame.
For a wider look at wax behavior and burn flow, this beeswax melting point guide is a handy place to start.
Your Path to Crafting the Perfect Beeswax Candle
So here’s the good news: making beautiful beeswax candles usually comes down to a few smart choices, not magic.
Beeswax is dense, hot, and a little stubborn, so it needs the right wick material, and square braid is often the best place to start. Use your container diameter as a starting point, then test from there. A wick chart helps, but your burn test tells the real story.
And that test? It’s not a sign you messed up. It’s part of the craft. One burn can teach you more than a stack of guesses.
If you’re making DIY beeswax candles or building clean burning candles for sale, keep it simple at first. Start with one formula, one wick, one jar. Then tweak from there.
That’s how you get closer to the sweet spot. A steady flame. A full melt pool. Less beeswax candle tunneling. More candle joy.
So grab your wax, light that first test, and enjoy the process. You’re not just making a candle. You’re learning how to make it better.
Get a quote from Aroma Monk.
Essential Oil Supplier – Bulk pricing • Samples • Fast response